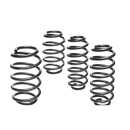
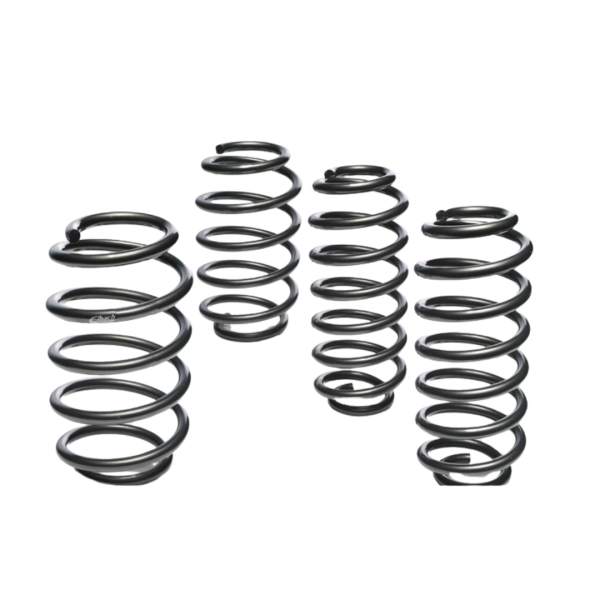
Installation Instructions
Application: 2008–2021 Toyota Land Cruiser J200, 4WD Kit Number: E80-82-072-03-22
Kit Contents:
-
Front Springs × 2
-
Rear Springs × 2
-
Front Shocks × 2
-
Rear Shocks × 2
-
Retaining Ring Kit
-
Nylon Cable Ties
-
Dust Boots
Safety Precautions
-
Always support the vehicle with approved jack stands and use tire chocks. Never rely solely on a jack.
-
Inspect shock brackets and mounting points before installation to ensure they are not bent, cracked, or damaged.
-
Do not disassemble shocks. Return damaged units to Eibach Springs for service or replacement.
-
Read these instructions completely before beginning installation.
Important Notes
-
Use only Eibach shocks designed for your specific vehicle application. Each unit is tuned for the Land Cruiser’s weight, suspension geometry, and ride characteristics.
-
Compare OEM shock mounting hardware with the new shocks before installation. Replace any non-reusable hardware with OEM-quality parts.
-
Eibach shocks are tuned to the vehicle manufacturer’s recommended tire pressure, not the maximum PSI shown on the tire sidewall.
-
The OEM spring perch must be removed from the factory strut assembly and installed onto the Eibach Pro Truck Sport Damper.
Additional Guidelines
-
If unsure about proper installation, consult the vehicle’s factory service manual. Torque all fasteners to OEM specifications.
-
On post-mount shocks:
-
Finger-tighten the nut until there is zero clearance between washers and bushings.
-
Tighten an additional 5–6 turns until bushings are slightly bulged.
-
Secure with a jam nut. (Some vehicles may bottom out earlier—this is correct.)
-
-
OEM hardware may be metric or standard. Ensure proper tools are available. Do not interchange hardware.
-
Some Eibach shocks are supplied with a high-pressure nitrogen charge and restraining strap:
-
Leave the strap on until one end is mounted.
-
Cut the strap and guide the shock into position as it expands.
-
-
Use provided wire ties to secure the dust boot. On some applications, install ties after the shock is mounted.
-
After installation, check for clearance around exhaust, brake lines, fuel lines, and electrical wiring.
-
Drive cautiously for the first few miles to feel the new handling. After 10 miles, re-check torque and verify clearance.
-
Rear shocks must be installed with the dust boot facing downward to allow moisture drainage and prevent premature seal failure.
Installation Steps
-
Park on a level surface and engage the parking brake.
-
Safely raise and support the vehicle with safety stands (refer to OEM manual for correct points).
-
(Optional) Power wash chassis for a clean work area.
-
Remove OE shocks per OEM procedures.
-
Install Eibach Pro Dampers in reverse order of removal.
Ride Height with Eibach Pro-Lift-Kit Springs
-
Average Lift: Front 2.5”
-
Average Lift: Rear 1.7”
-
Use only with additional vehicle weight where recommended.
Perch Installation Instructions
-
Ensure snap ring is fully seated in its groove (it should rotate freely by hand).
-
If a spacer ring is included, install as shown. Confirm the snap ring is seated beneath the spacer. Incorrect installation may cause permanent shock damage.