Welcome back to our rod-building saga! In this instalment, we're lowering the high top on the Deuce for a more streamlined look. This project will enhance your model's aesthetic and give it that classic Rat Rod vibe. Let’s dive in!
What You'll Need:
- Razor saw
- Sharp hobby knife
- Masking tape
- Model cement (your favourite type)
- Assorted files and emery board
- Thin plastic card
Step-by-Step Instructions
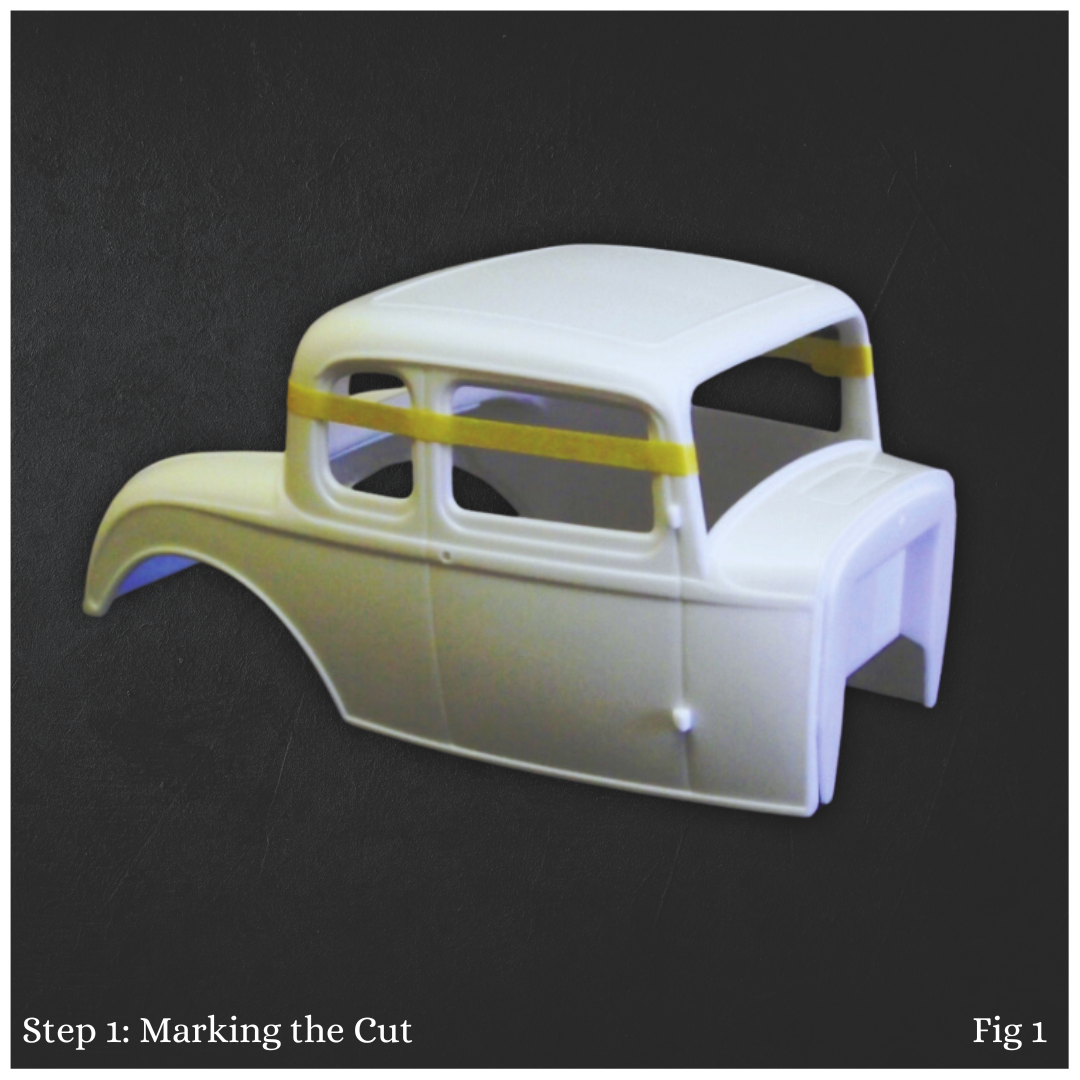
Step 1: Marking the Cut
Fig 1: Start by marking the desired height of your chop on the pillars. Apply masking tape that is the same width as the chop you intend to make. In this instance, I opted for a 3-inch chop. Since we are working on a 1/24 scale, use 3mm wide tape to mark your line accurately.
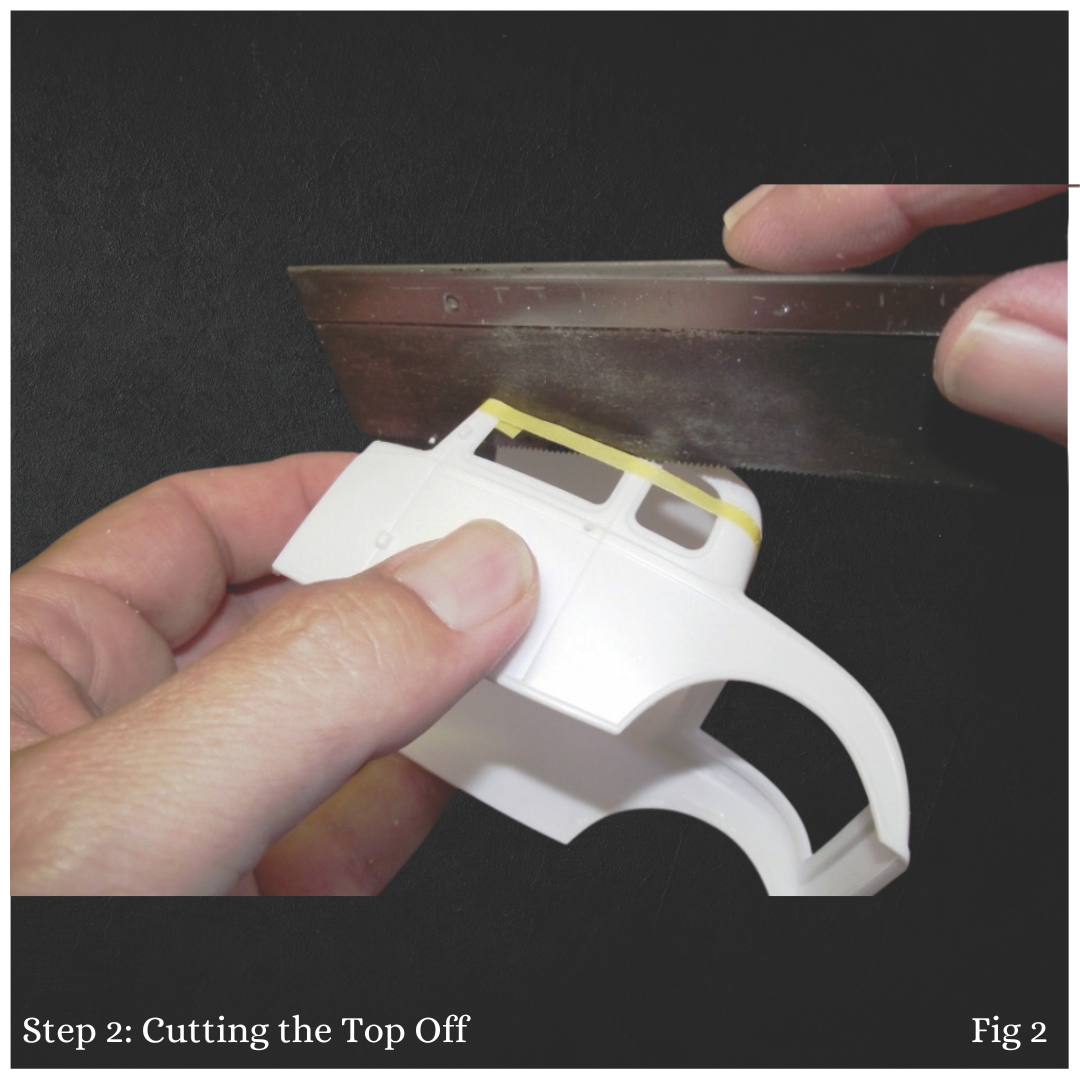
Step 2: Cutting the Top Off
Fig 2: Carefully remove the top of the model using your razor saw. Take your time and make slow, level cuts to ensure a smooth finish. This is crucial for a clean look when reattaching the top.
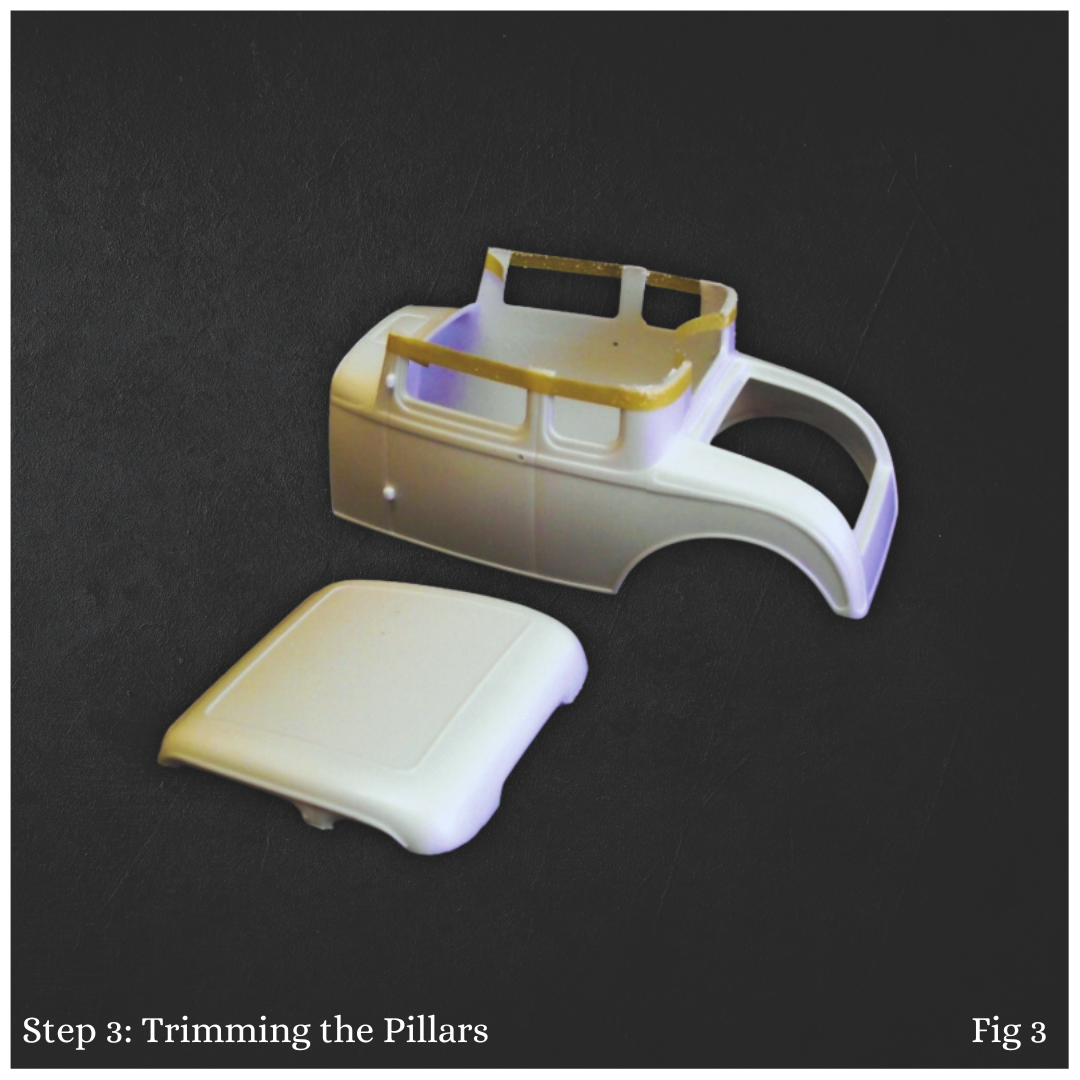
Step 3: Trimming the Pillars
Fig 3: With the top removed, it’s time to cut off the pillars below your masking tape line. Make sure to keep your cuts even to maintain symmetry in the final look.
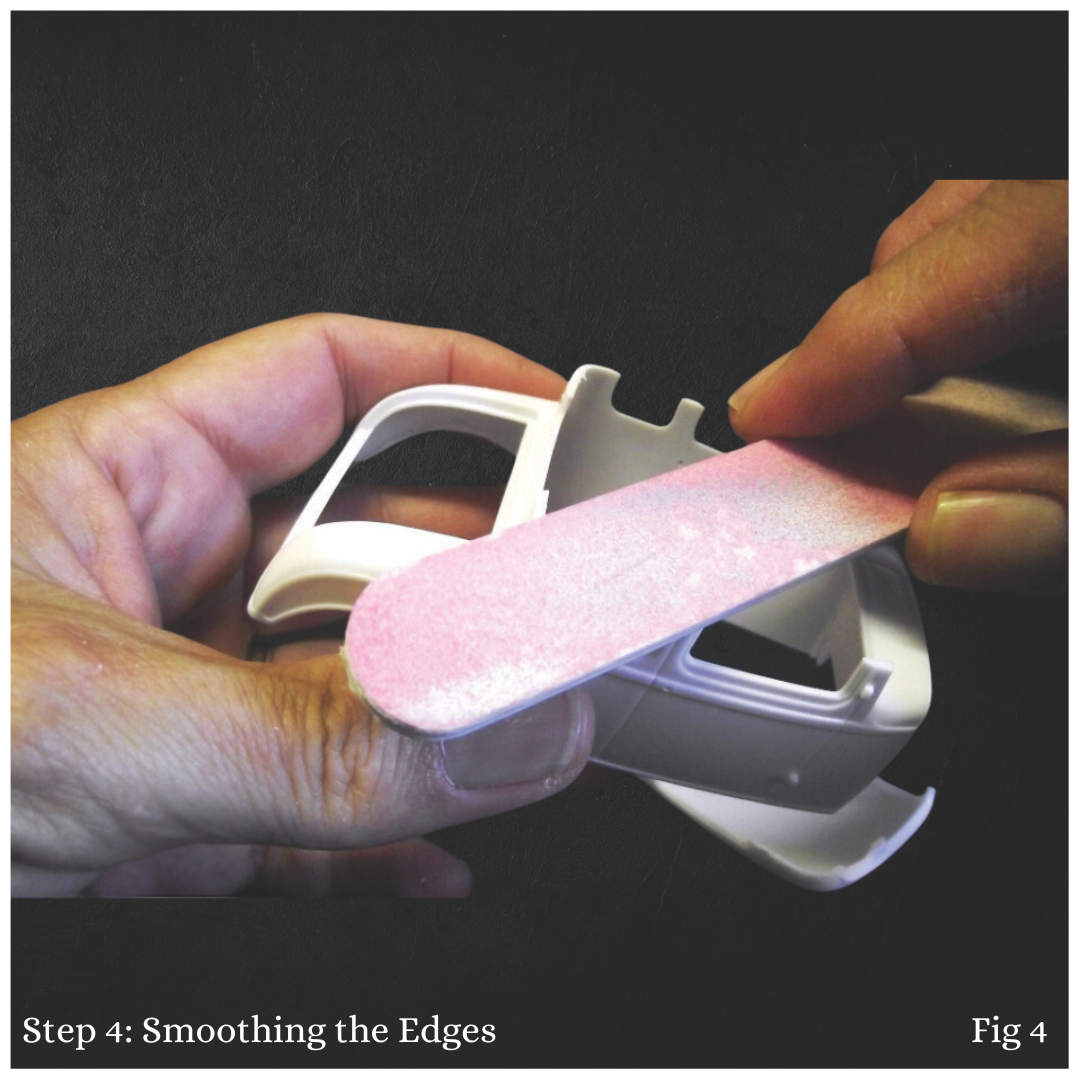
Step 4: Smoothing the Edges
Fig 4: After all cutting is complete, use an emery board to true up all mating surfaces. This step ensures that everything lines up perfectly for reassembly.
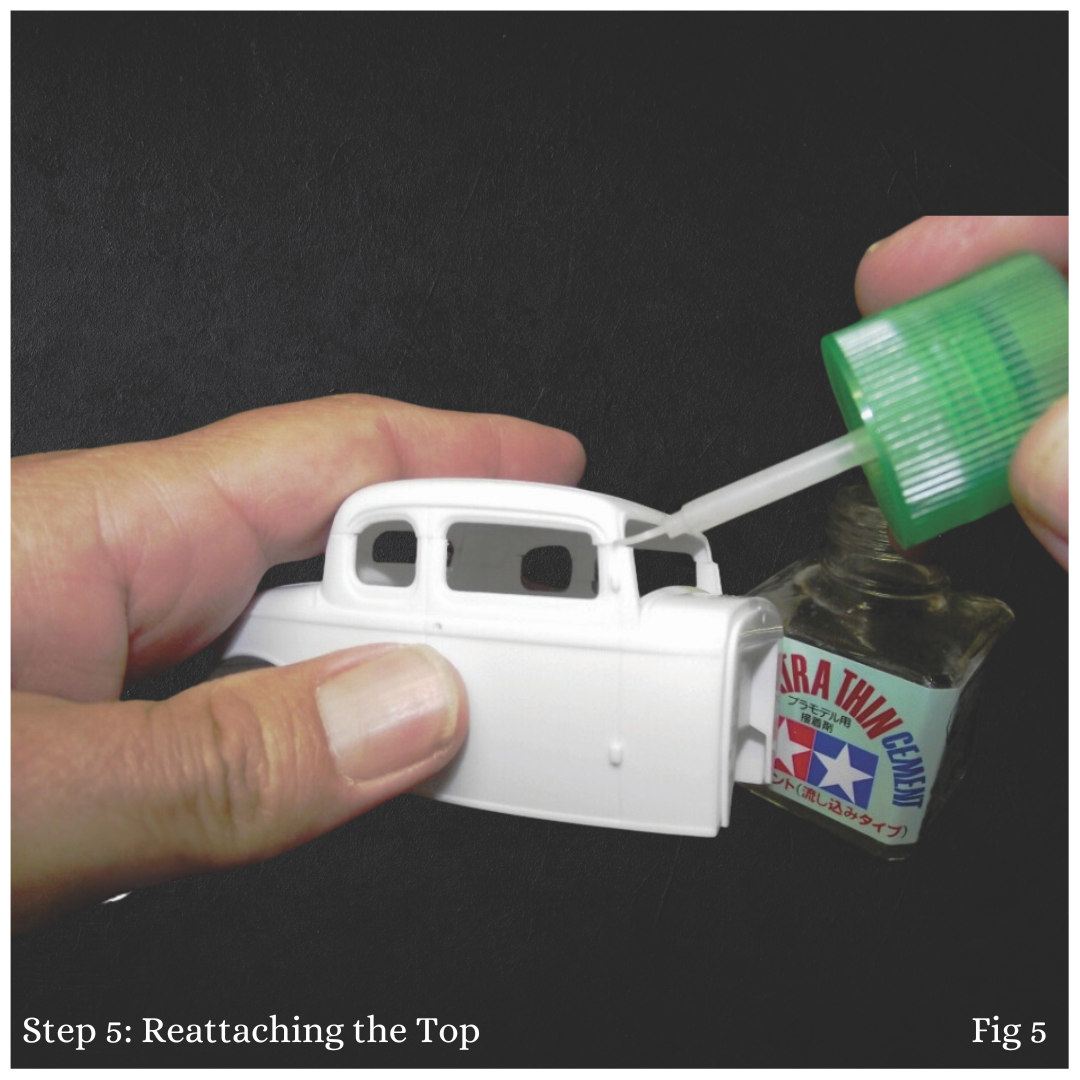
Step 5: Reattaching the Top
Fig 5: Carefully position the top back onto the pillars. Use your model cement to attach it and set the assembly aside to dry completely. Ensure a good bond by applying even pressure.
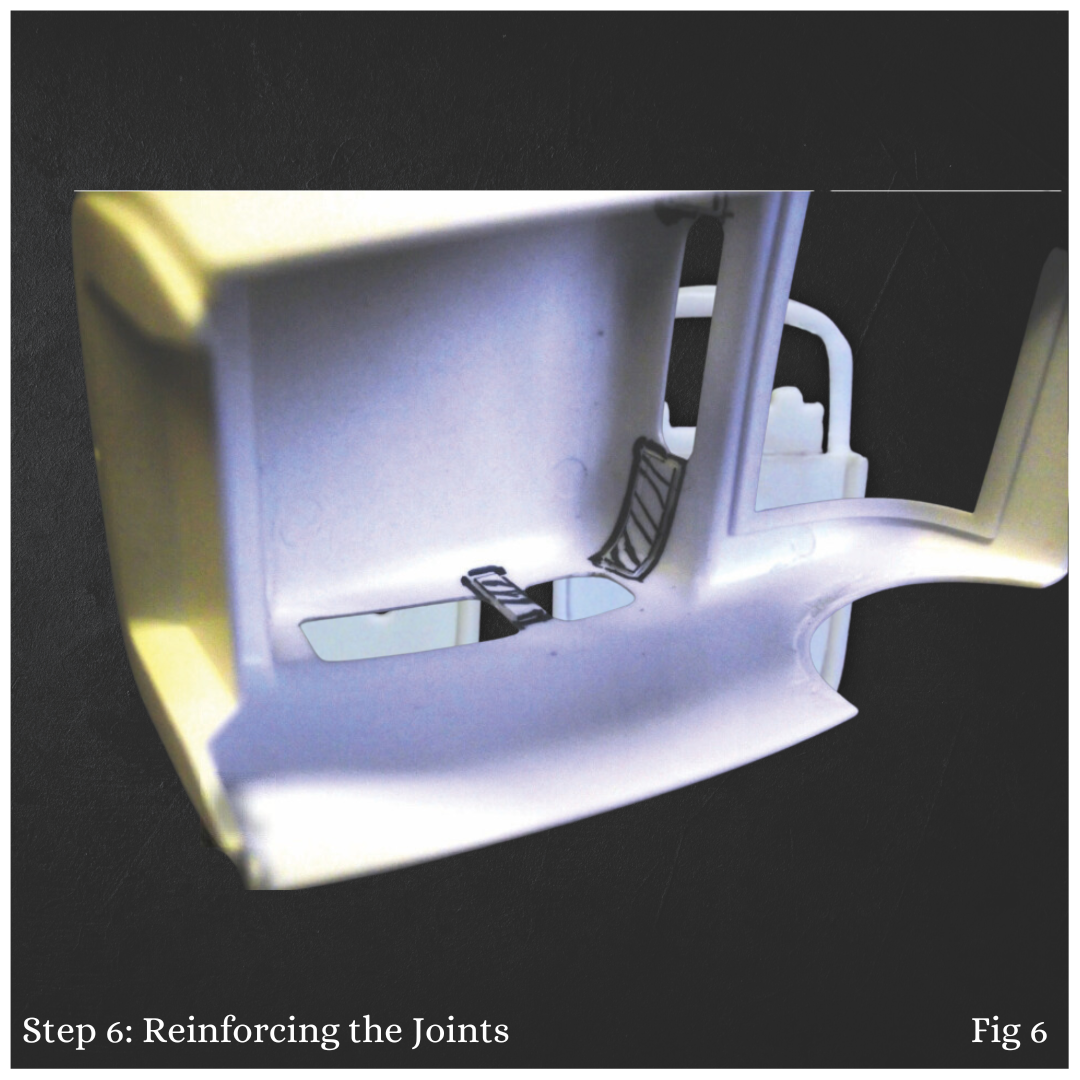
Step 6: Reinforcing the Joints
Fig 6: Once the top has set, reinforce the joints on the inside of the body with small pieces of thin plastic card. I recommend using liquid cement for this, as it creates a stronger bond by "welding" the plastic surfaces together.
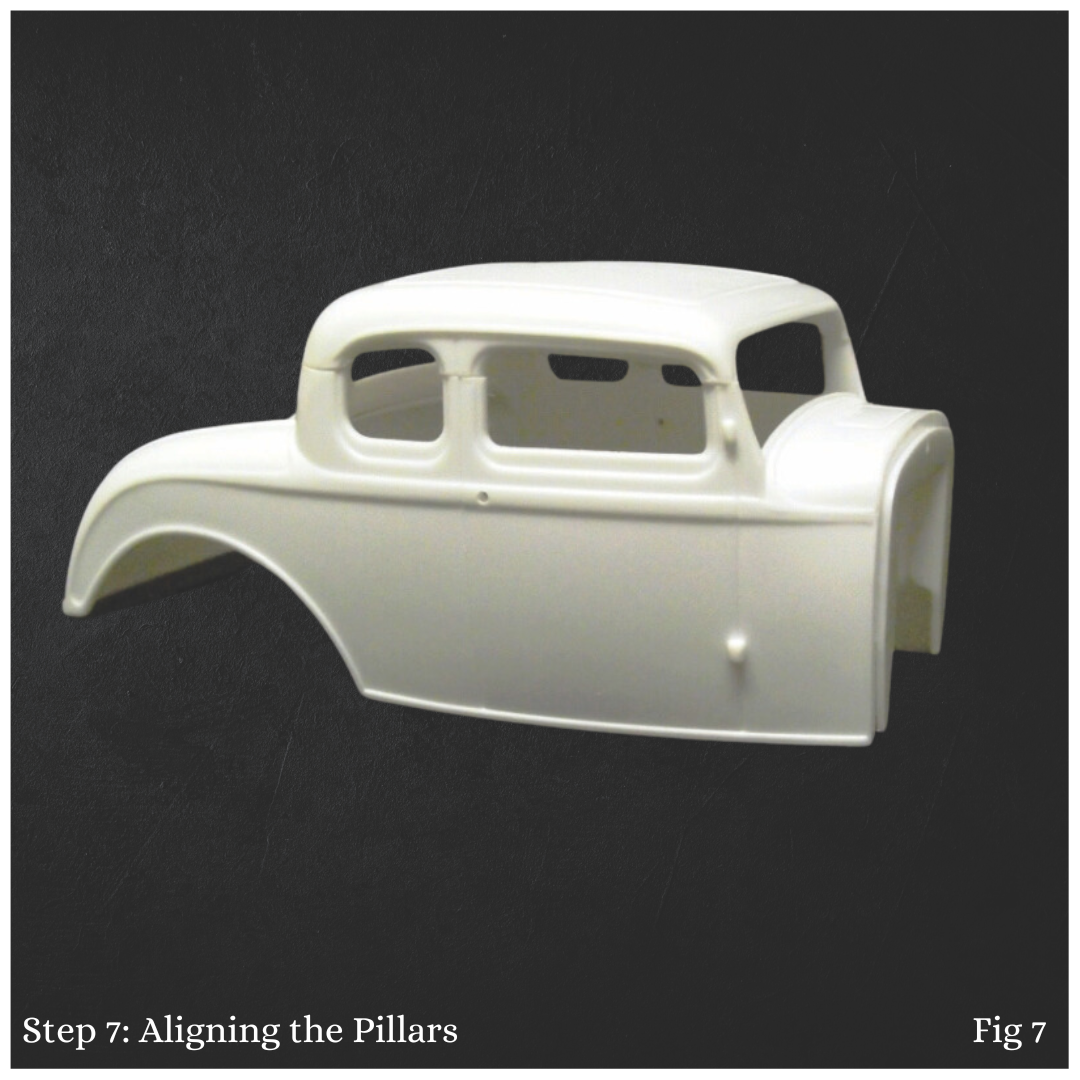
Step 7: Aligning the Pillars
Fig 7: After reinforcing, check the alignment of the edges of the pillars. You may find that they don't line up perfectly. Use your craft knife and files to carefully remove any excess plastic and achieve a seamless fit.
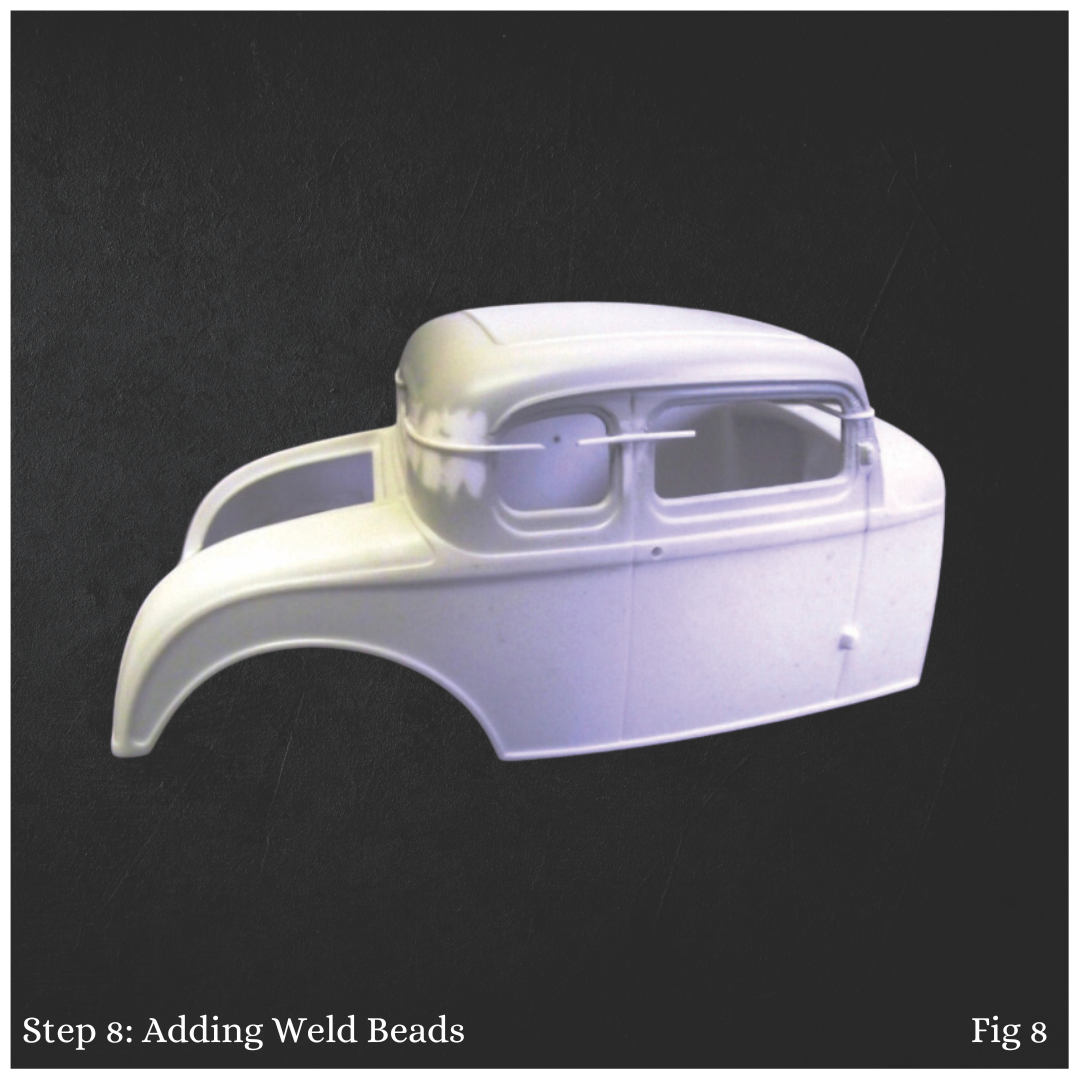
Step 8: Adding Weld Beads
Fig 8: Instead of puttying and smoothing the gaps, we’re going for that Rat Rod aesthetic by adding weld beads! Glue thin plastic rod or stretched sprue along all joint lines. To stretch the sprue, gently heat a piece over a candle until it sags, then remove and pull it to your desired thickness.
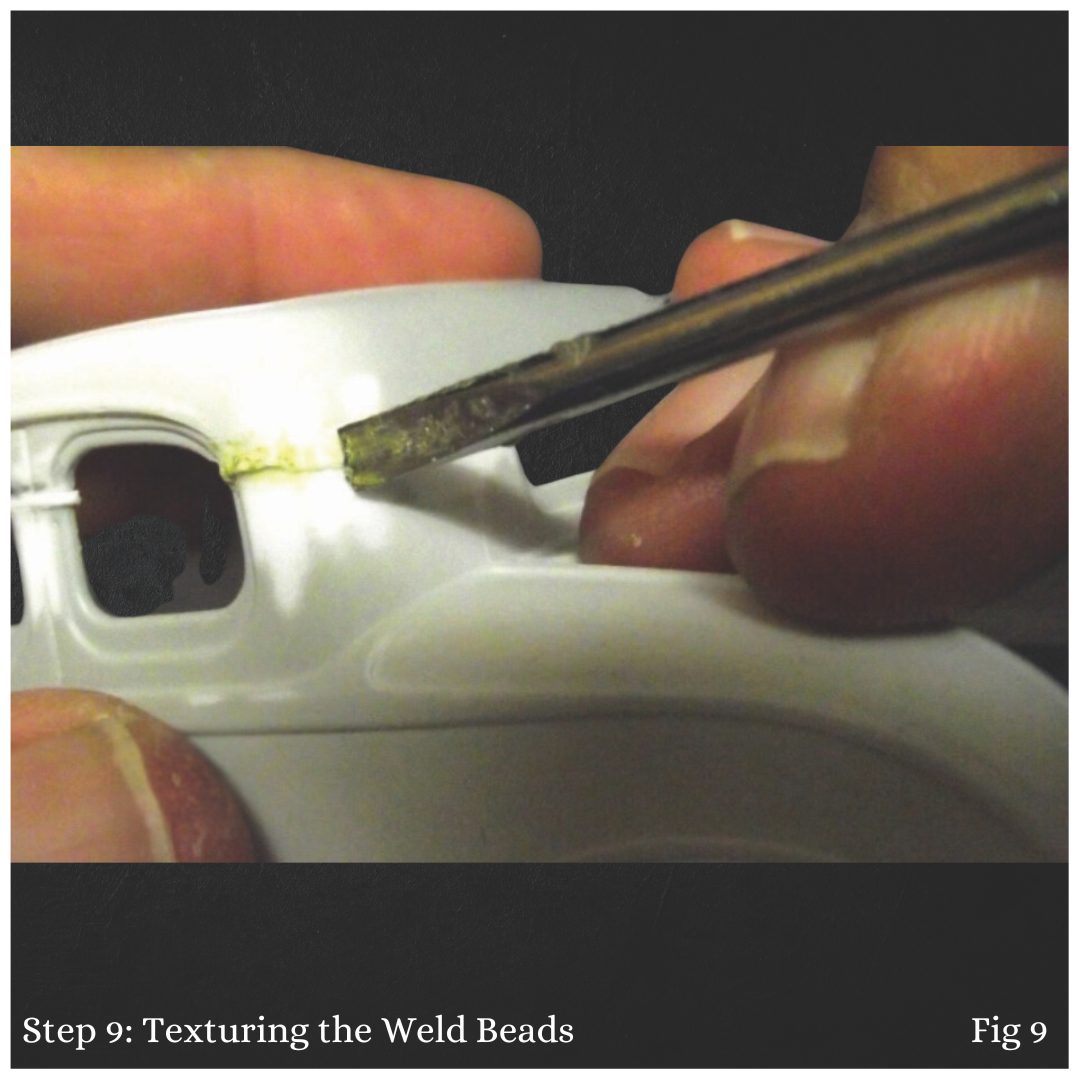
Step 9: Texturing the Weld Beads
Fig 9: To create the textured effect of weld beads, work on one pillar at a time. Soak the sprue with liquid cement until it becomes soft. Using a small flat-tipped tool (like the tip of a screwdriver), press down to shape the bead effect along the joints.
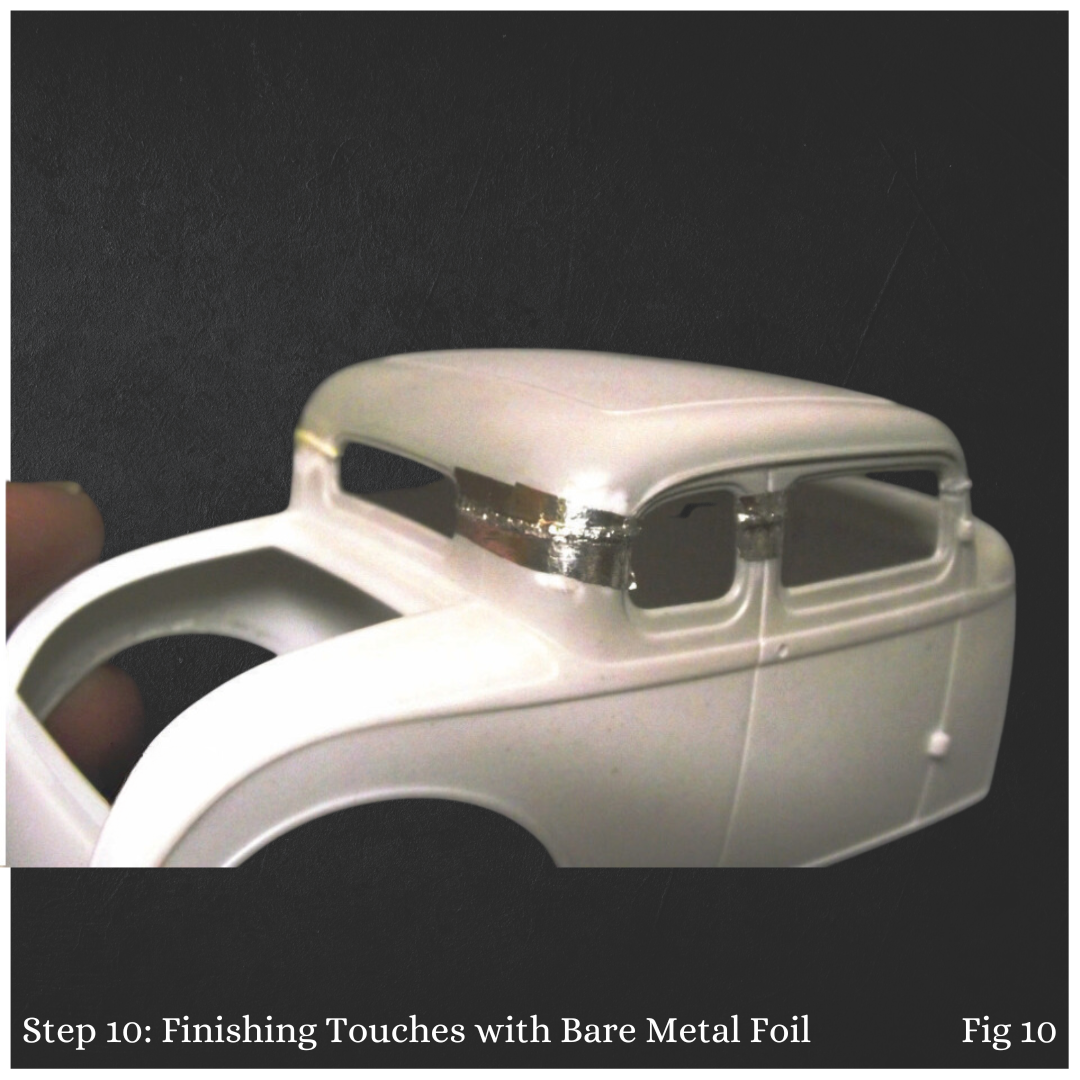
Step 10: Finishing Touches with Bare Metal Foil
Fig 10: Once you’ve finished texturing the weld beads, cover them with Bare Metal foil. Make sure to burn the foil down firmly, especially into the textured areas, to create a realistic look.
What's Next?
Now that the welding effects are in place, our next step will involve painting and weathering the body to give it that authentic Rat Rod appearance. Take some time to decide on a primer and body colour that will contrast nicely, enhancing the overall aesthetic.
Stay tuned for our next instalment, where we’ll dive into painting and adding those perfect rust details!
Share Your Progress
We’d love to see how your project is coming along! Send us your build photos, and feel free to ask any questions you have along the way. We’ll feature select builds and answers in future articles.