Building a High-Performance Rod: Part 6 - Final Assembly and Finishing Touches
What You’ll Need:
- Tamiya Orange paint
- Tamiya Flat Aluminium paint
- Various contrasting paint colours for details
- Black wash
- Tamiya Flat Clear spray
- Tamiya Light Gunmetal paint
- Rust All wash
- Tamiya Matt Clear spray
- Metallic Grey paint
- Chrome Silver paint
- Hoosier decals from Slixx
- Clear Matt Spray
Step-by-Step Instructions
Step 1: Engine Assembly
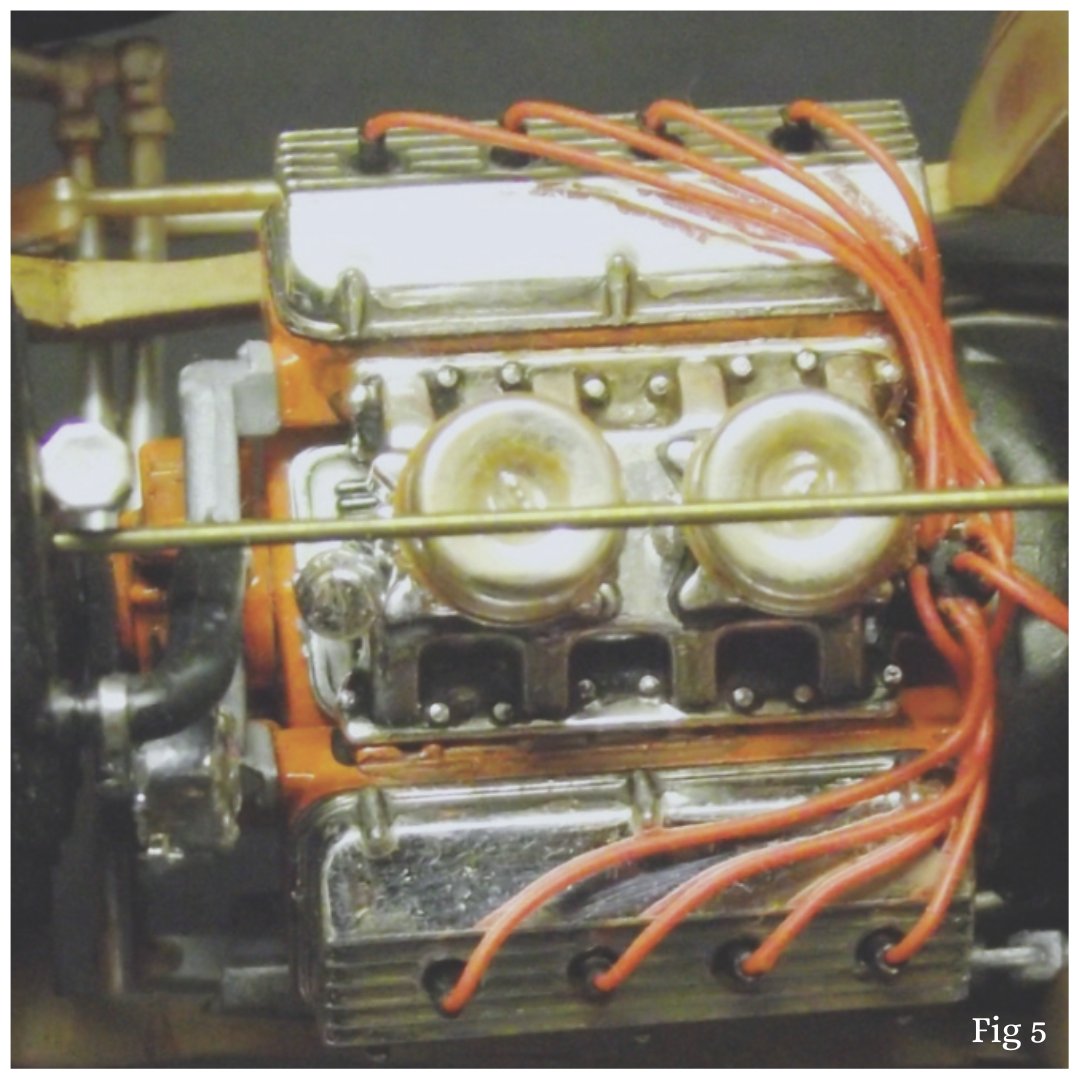
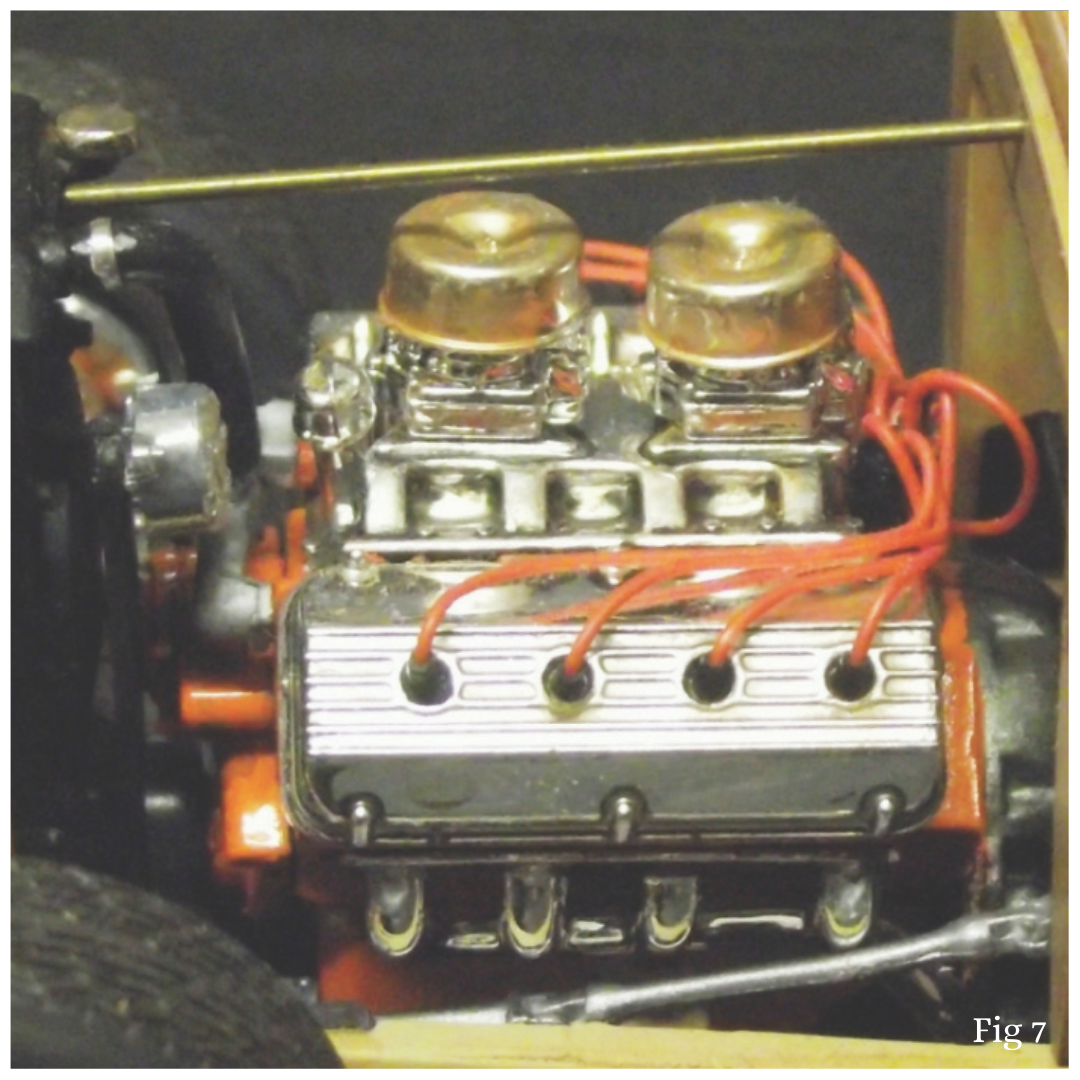
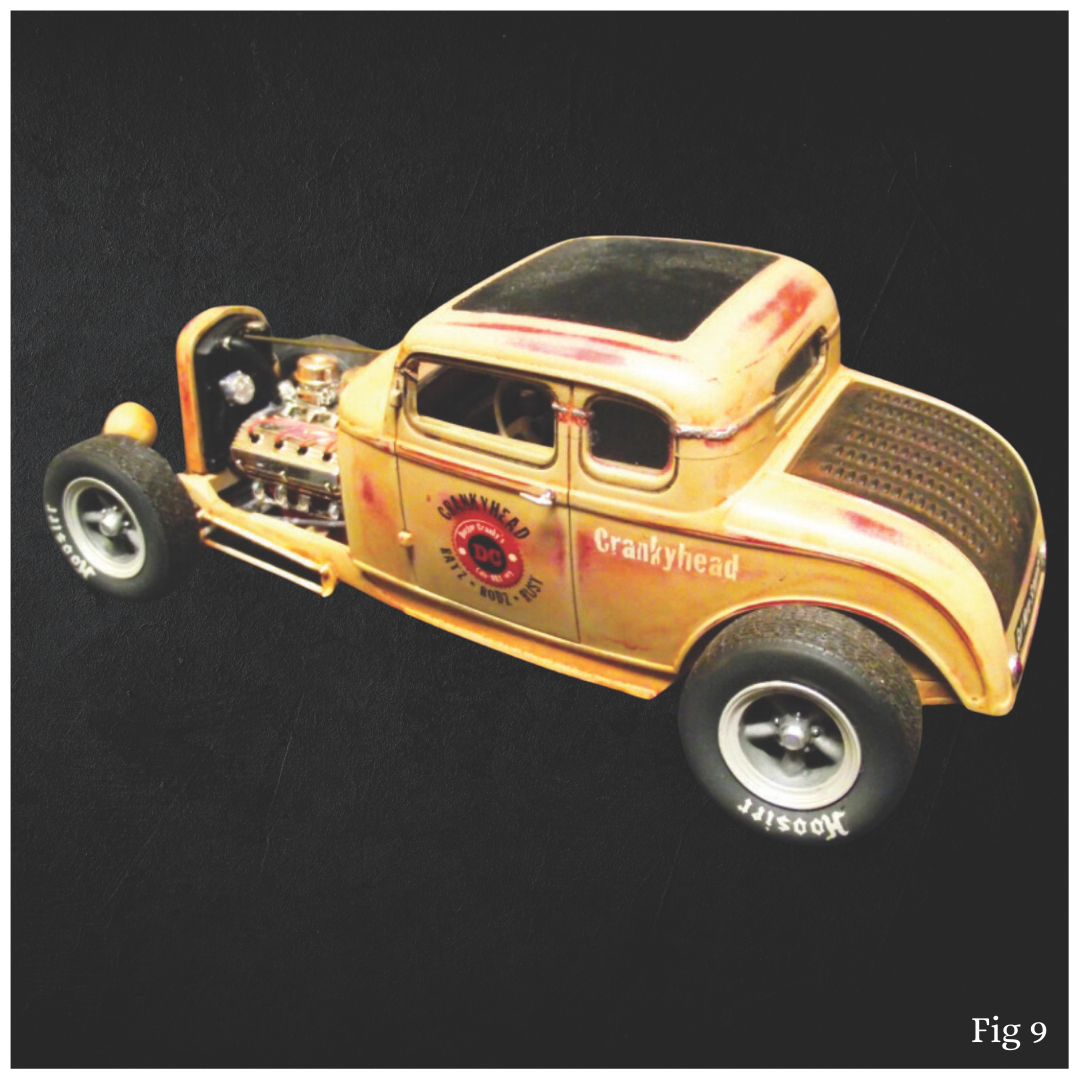
I decided to use the vintage Hemi motor included in the kit instead of the modern 5.0 Mustang motor. Here’s how I painted and detailed the engine:
-
Engine Block and Sump: I painted these in Tamiya Orange for a classic look.
-
Gearbox: This was painted in Flat Aluminium.
-
Details: Various components, including the oil filter, were painted in contrasting colours to add visual interest. I also added the 8 spark plug leads and the coil wire to give the engine some life.
After fitting all the chrome parts, I applied a black wash to tone down the shine and create a slightly weathered look. Finally, I sealed everything in with Tamiya Flat Clear to finish off the motor’s look.
Step 2: Suspension Assembly
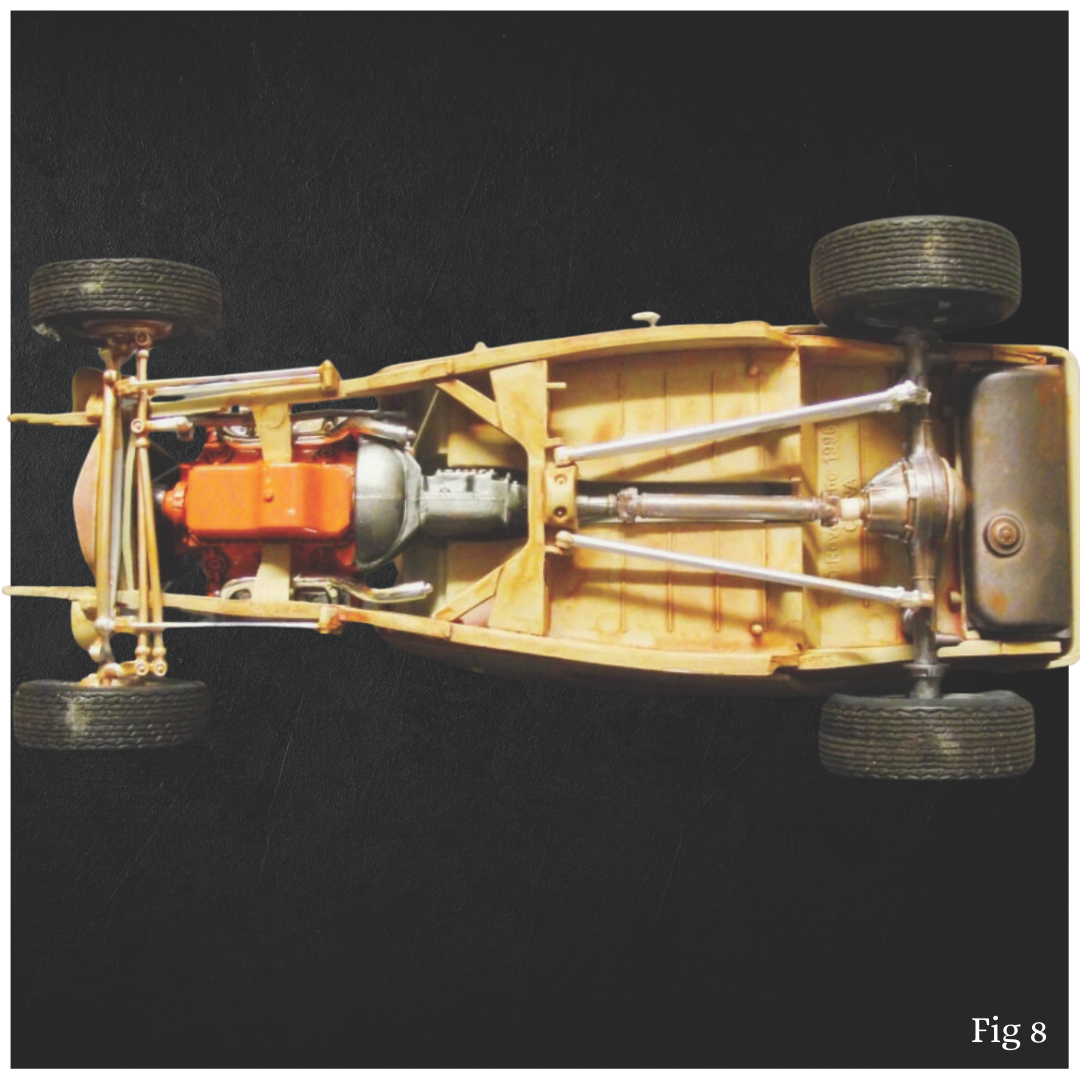
The rear and front suspension were assembled according to the kit instructions:
-
Rear Axle: I painted this in Tamiya Light Gunmetal and then toned it down with a wash of Rust-All to simulate wear.
-
Front Suspension: I detail-painted various components and applied a coat of Tamiya Flat Clear. A wash of Rust-All was also used to achieve a consistent, dirty finish.
Step 3: Wheels and Tyres
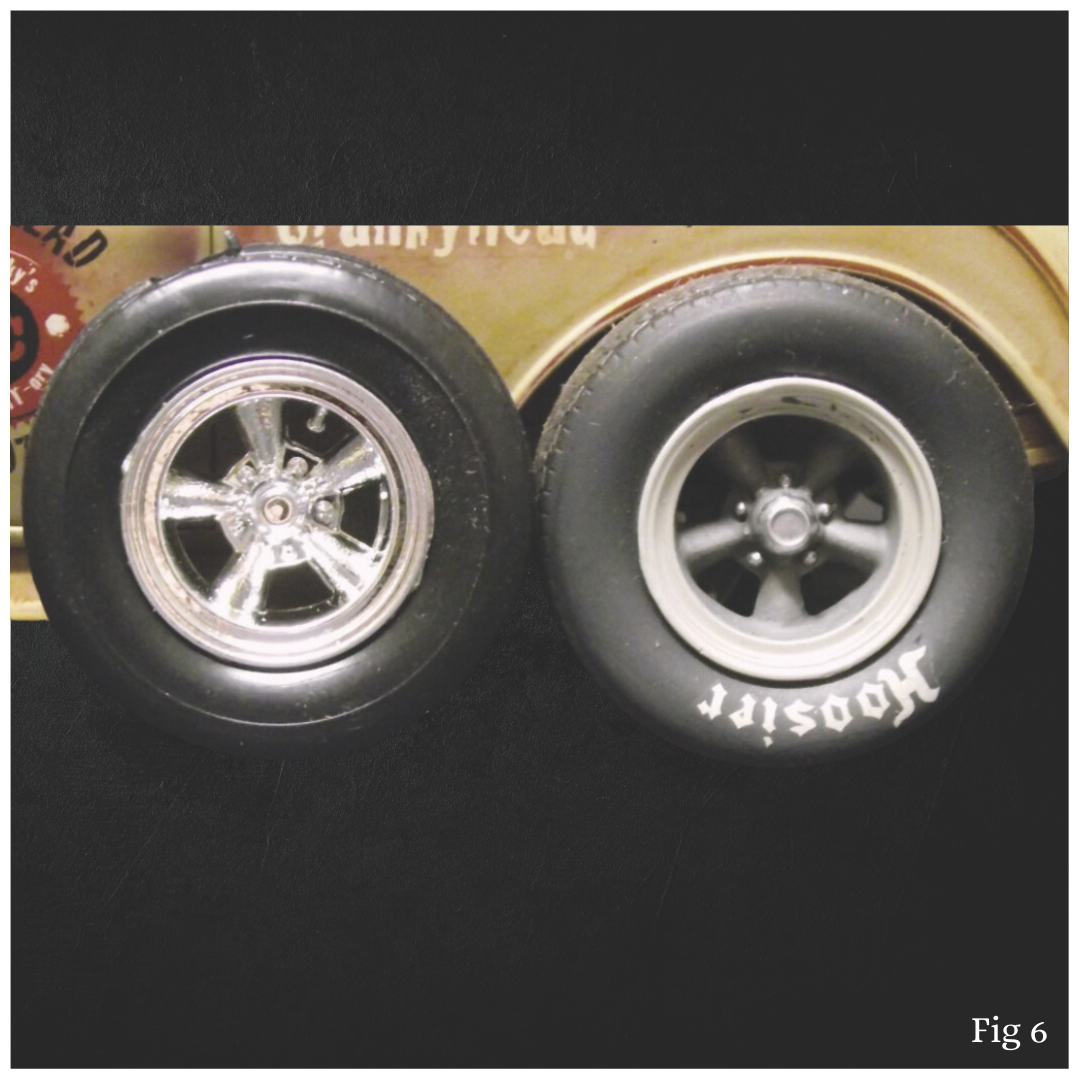
For the wheels, I opted for the American Racing Torque Thrust option:
-
Wheels: The chrome finish was overly shiny, so I applied several coats of Tamiya Matt Clear to give them a more subdued, unpolished aluminium look. The spokes were painted in Metallic Grey, and I used Chrome Silver to detail the centre caps and wheel nuts.
-
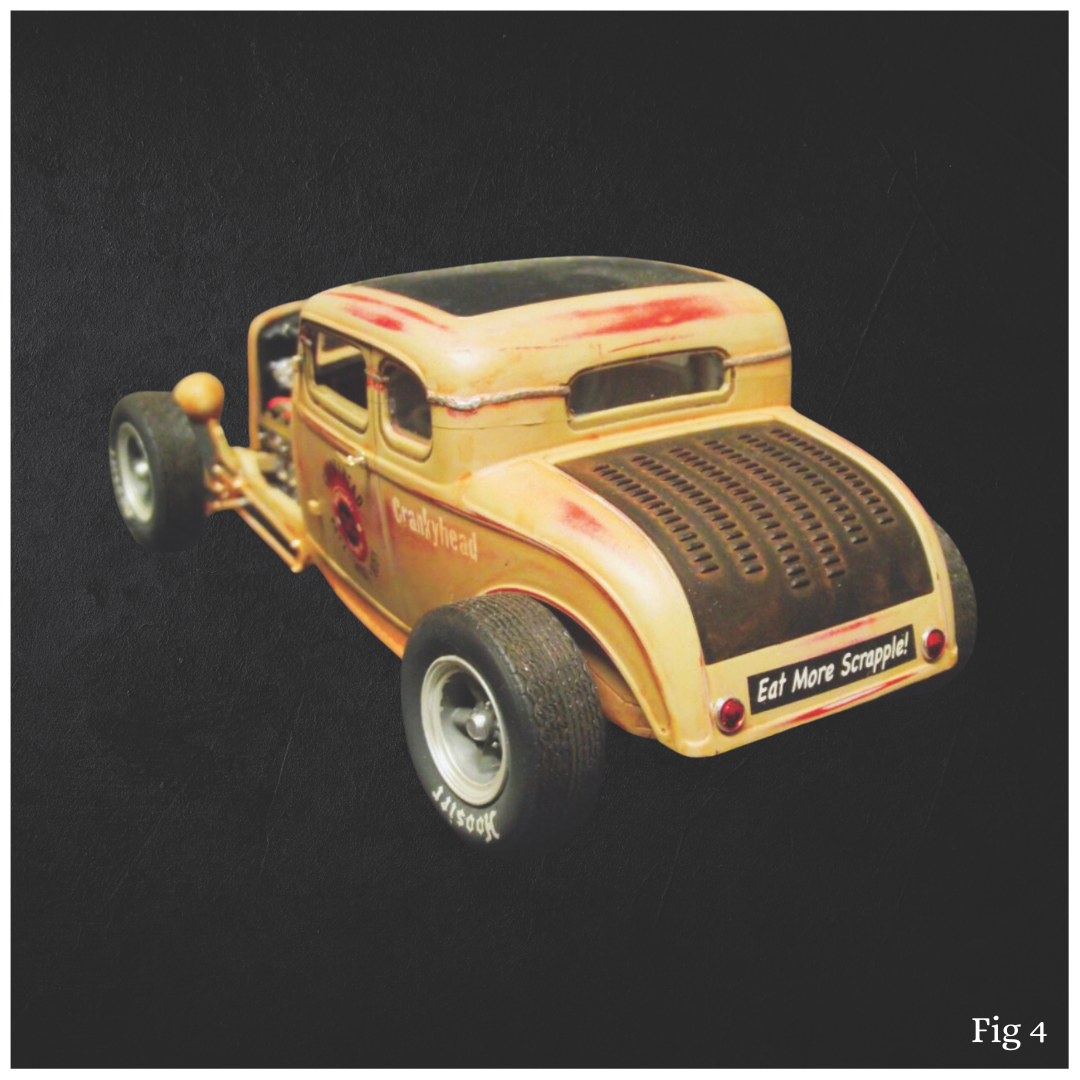
Tyres: I prepared the tyres by scuffing the tread to give them a more realistic look. I then applied Hoosier decals from a Slixx decal sheet. After the decals were in place, I sealed everything with Clear Matt spray.
Once assembled, I gave the entire wheel and tyre assembly a light misting of dirty thinners with my airbrush to add a dusty, well-used appearance.
Step 4: Chassis Completion
Before finalizing the chassis, I refitted the fuel tank between the frame rails to close the opening created earlier. The fuel tank received a coat of Metallic Grey to keep everything consistent with the overall theme.
Step 5: Body Detailing
The final touches on the body included:
-
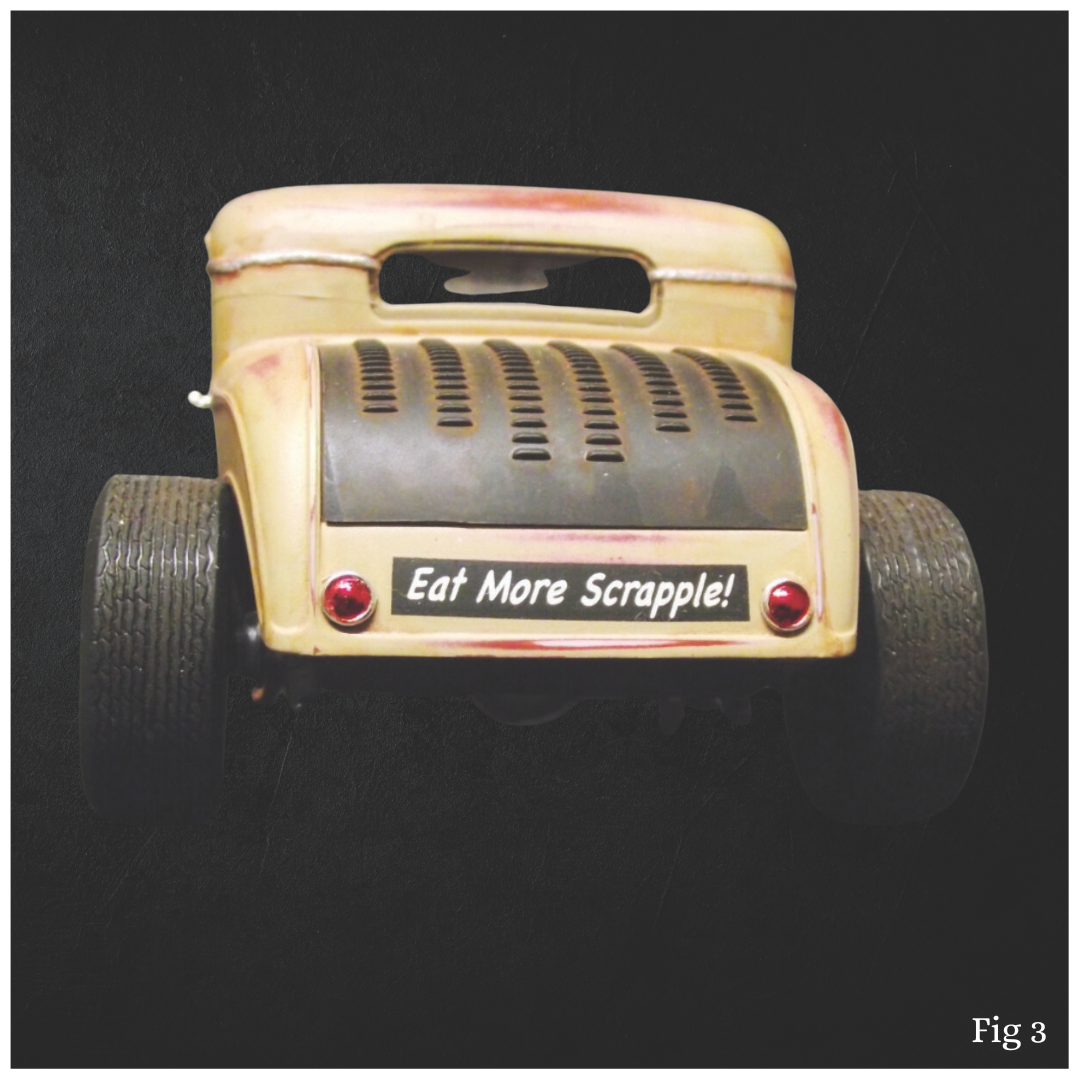
Tail Lights: I added round tail lights due to a small mishap with the teardrop lights. One was dropped, and unfortunately, it became a snack for the “carpet muncher” that roams my model room!
-
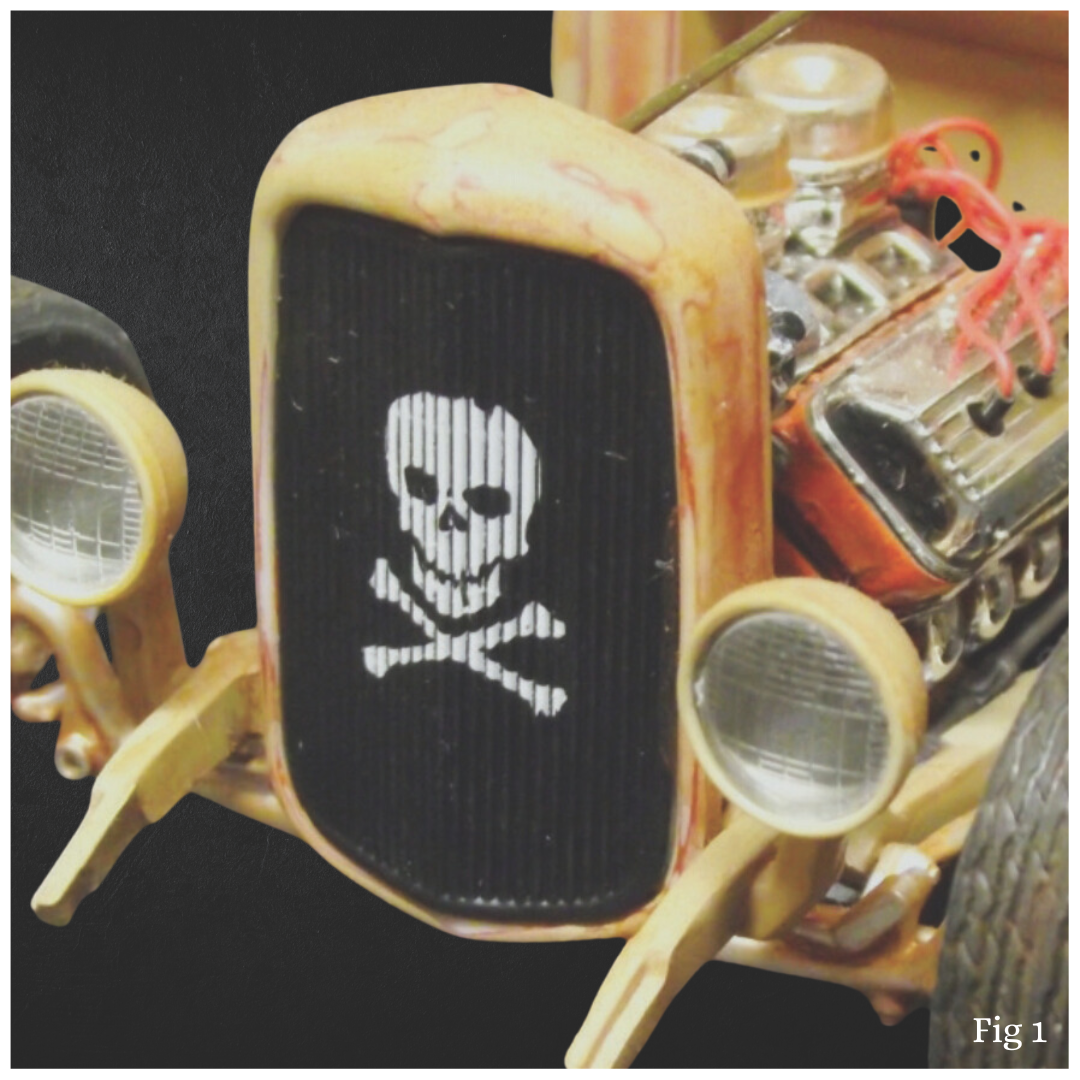
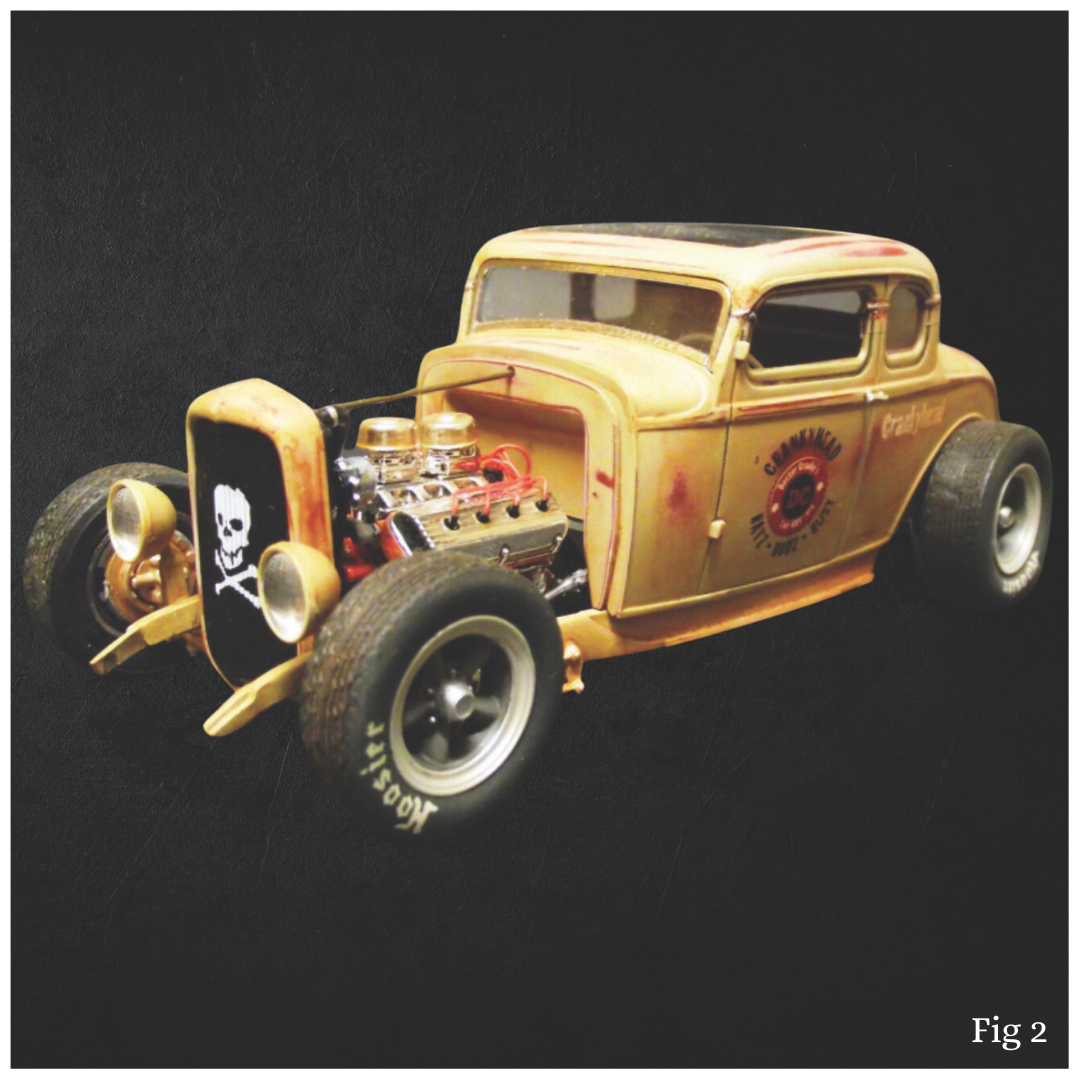
Headlight Buckets: I painted the headlight buckets in the body colour for a cohesive look.
-
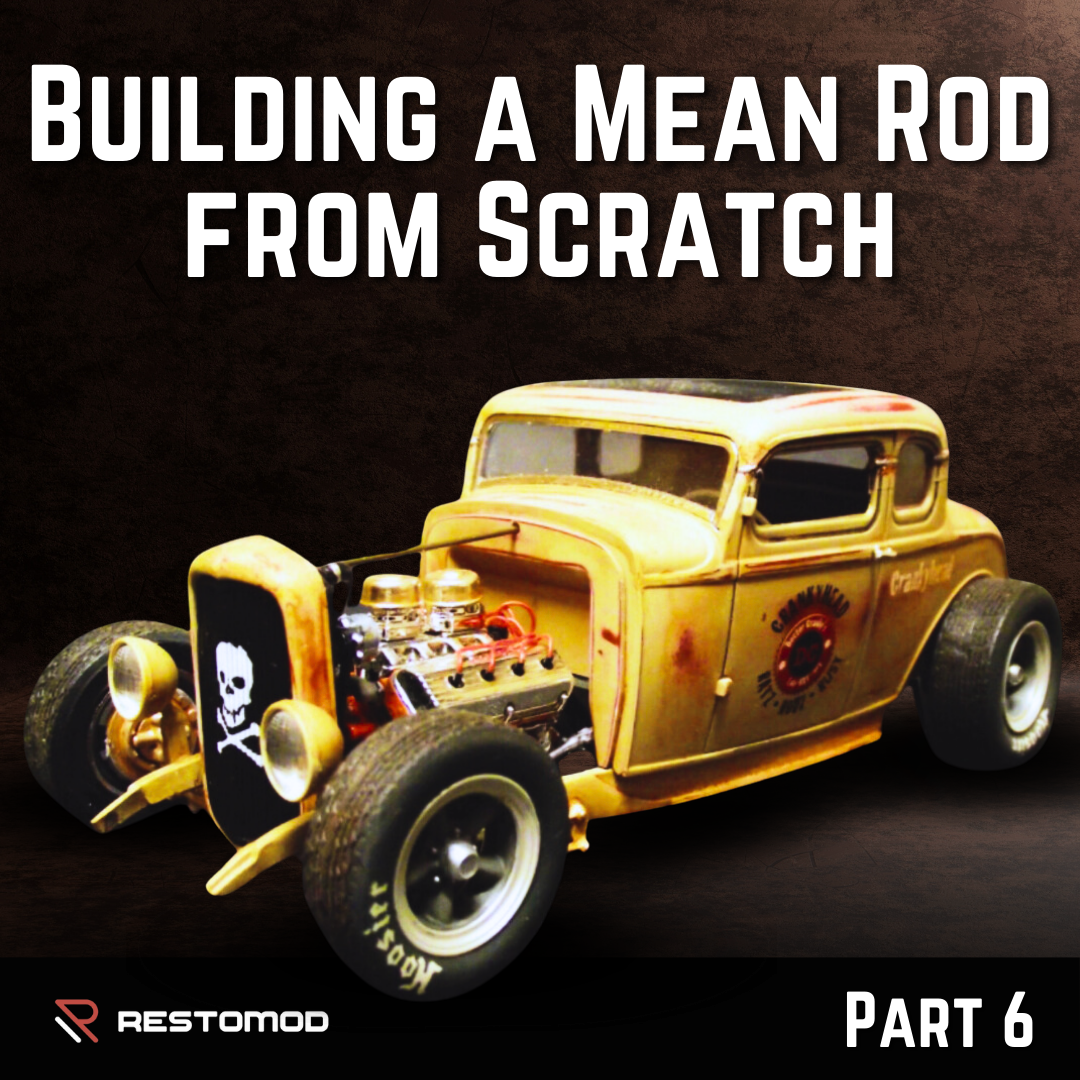
Final Decal: A skull and crossbones decal from the “Doctor Cranky” decal sheet was applied to the grill, adding a playful touch to the Deuce.
Conclusion
And there you have it—the Deuce is officially finished! This series of articles has aimed to inspire you to build your own Ratty Rod. I hope you enjoyed this journey as much as I did. Happy building, and may your models be as unique and exciting as your imagination!

