Building a High-Performance Rod: Part 4 - Painting and Weathering Your Chopped Deuce
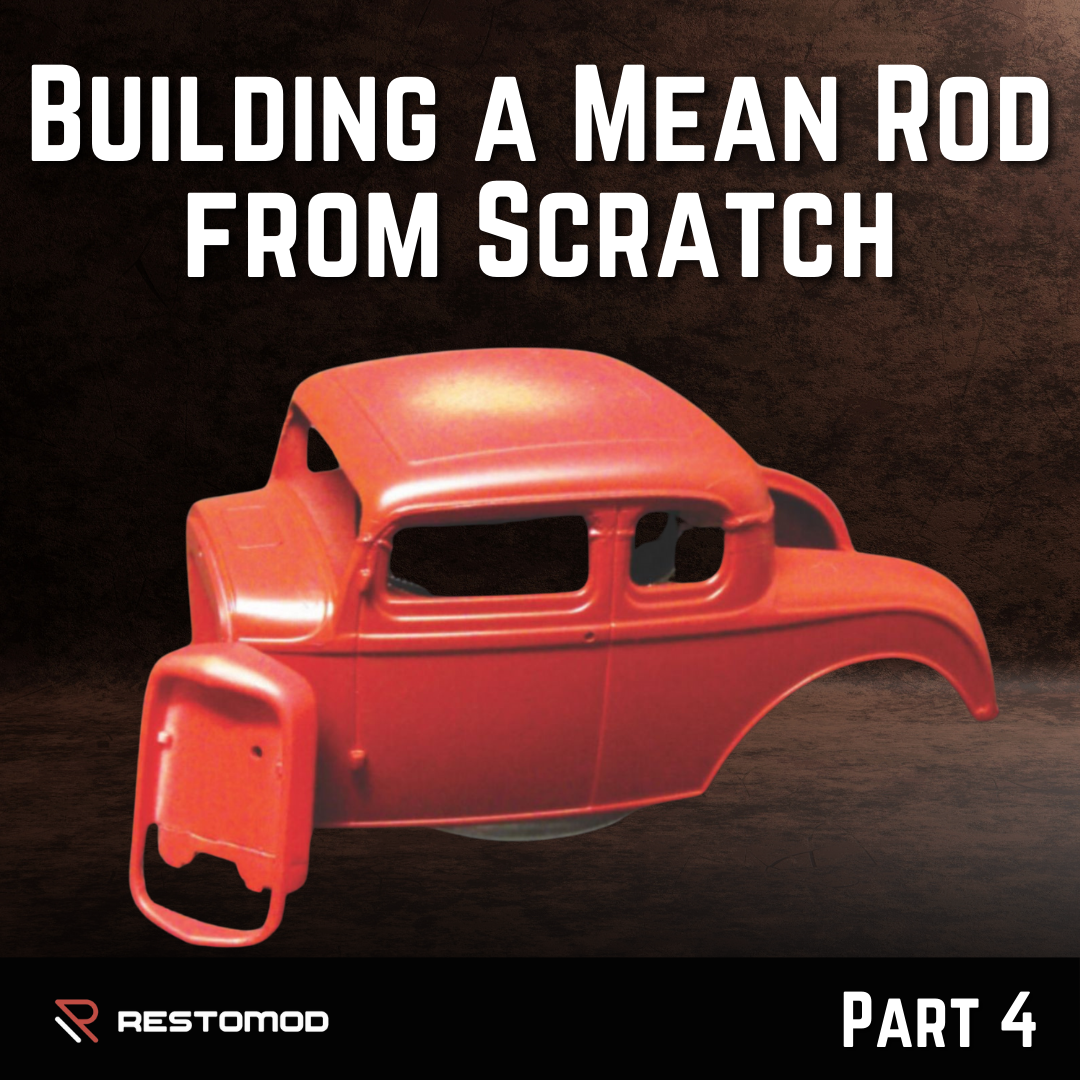
Welcome back to our rod-building saga! In this instalment, we’ll focus on painting and weathering our chopped Deuce to achieve that authentic aged, ratty look. Weathering involves various techniques including washes, dry brushing, and some creative methods to give your model character. Let’s get started!
What You'll Need:
- Tamiya Dull Red aerosol
- Tamiya Deck Tan aerosol
- Tamiya Rubber Black aerosol
- Dark grey enamel paint
- 2000 wet & dry abrasive paper
- Lacquer thinner
- Cotton ear buds
- Tamiya Clear gloss spray
- Decals from Virgil “Dr Cranky” and Slixx
- Tamiya clear flat spray
- Rust and Dust Wash from Micromark
Step-by-Step Instructions
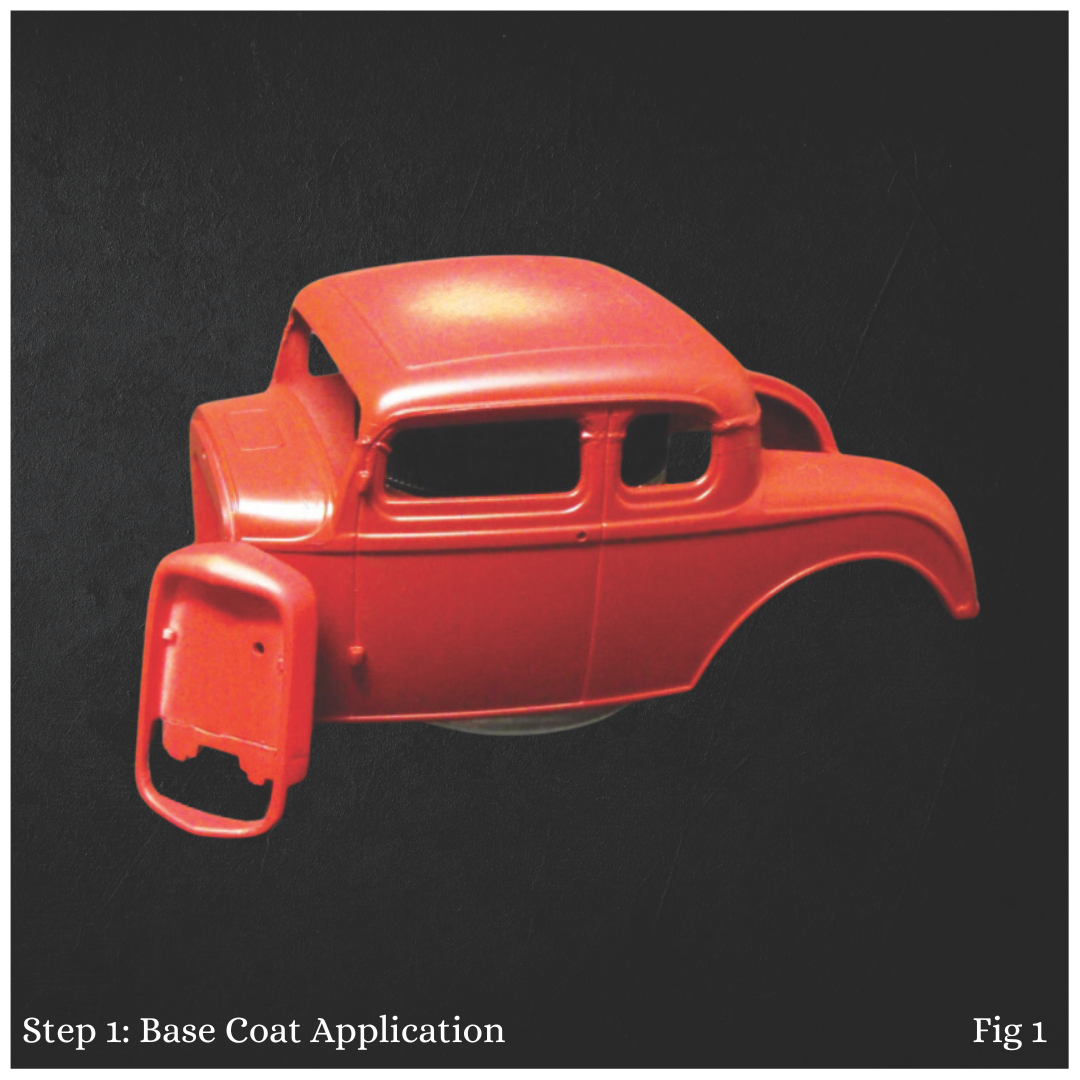
Step 1: Base Coat Application
Fig 1: To begin, we need a suitable base coat. Since I’m going for a weathered look, I chose Tamiya Dull Red aerosol to replicate a Red Oxide primer. I applied this coat to the entire body, grill shell, and chassis. Let it dry for at least 24 hours to ensure a solid foundation for the next layers.
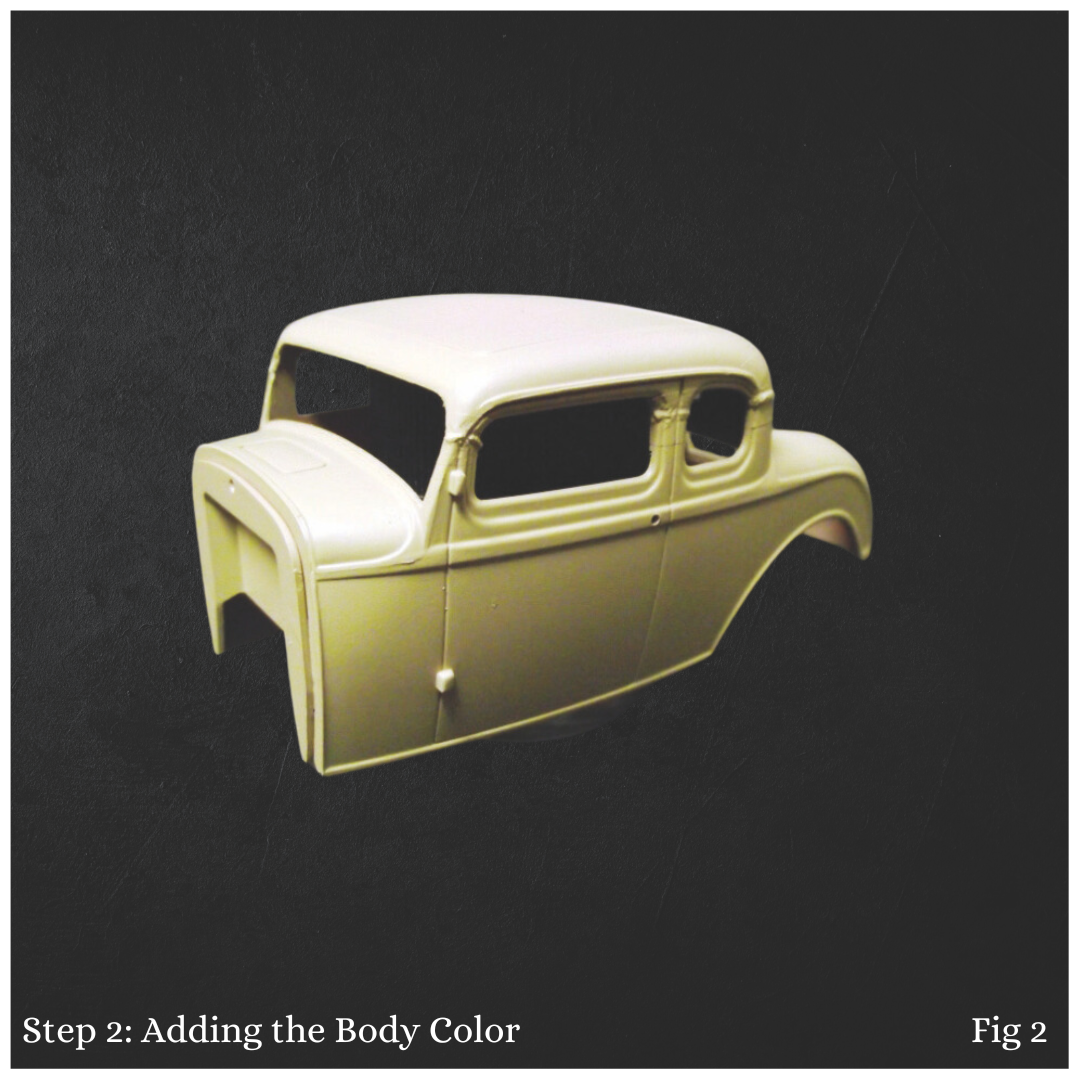
Step 2: Adding the Body Color
Fig 2: After the Dull Red has dried, it’s time to add the body colour. For a classic 1930s look, I opted for Tamiya Deck Tan aerosol. This colour mimics the popular "biscuit" hue from the era, giving the Deuce a nostalgic feel.
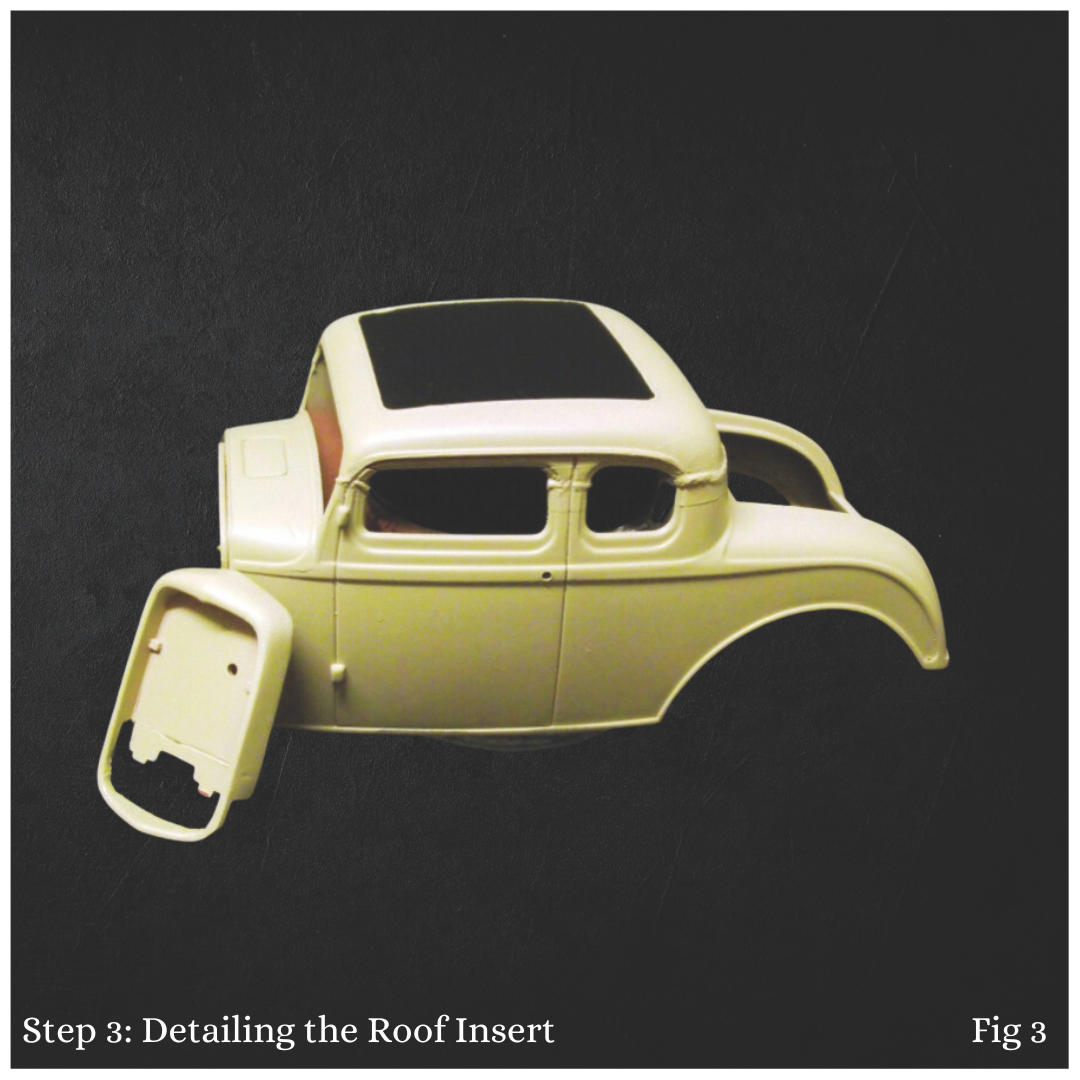
Step 3: Detailing the Roof Insert
Fig 3: Once the tan paint has dried, I masked off the cloth insert in the roof and painted it with Tamiya Rubber Black. This colour is a dark grey that adds depth without looking too flat. To highlight the moulded-in cloth texture, I dry-brushed the insert lightly with dark grey enamel for added detail.
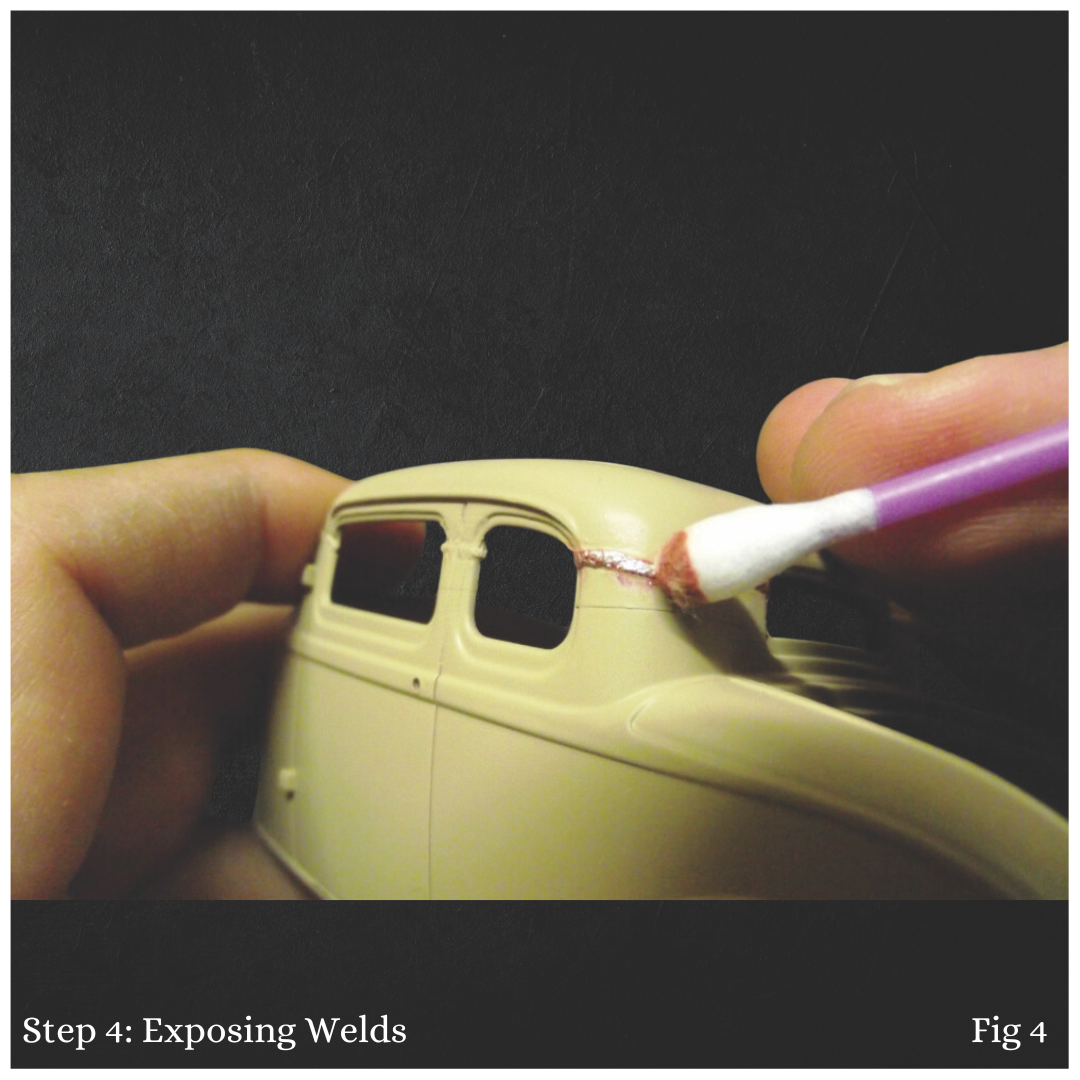
Step 4: Exposing Welds
Fig 4: Now, let’s reveal the welds that were covered with Bare Metal foil. Using a lacquer thinner-soaked cotton earbud, gently rub the paint off the weld seams until the bare metal is exposed. A bit of paint will remain in the recesses, enhancing the texture. While I skipped this step due to time constraints, you can add heat staining to the welds using an airbrush and clear smoke enamel for realism.
Step 5: Weathering the Paint
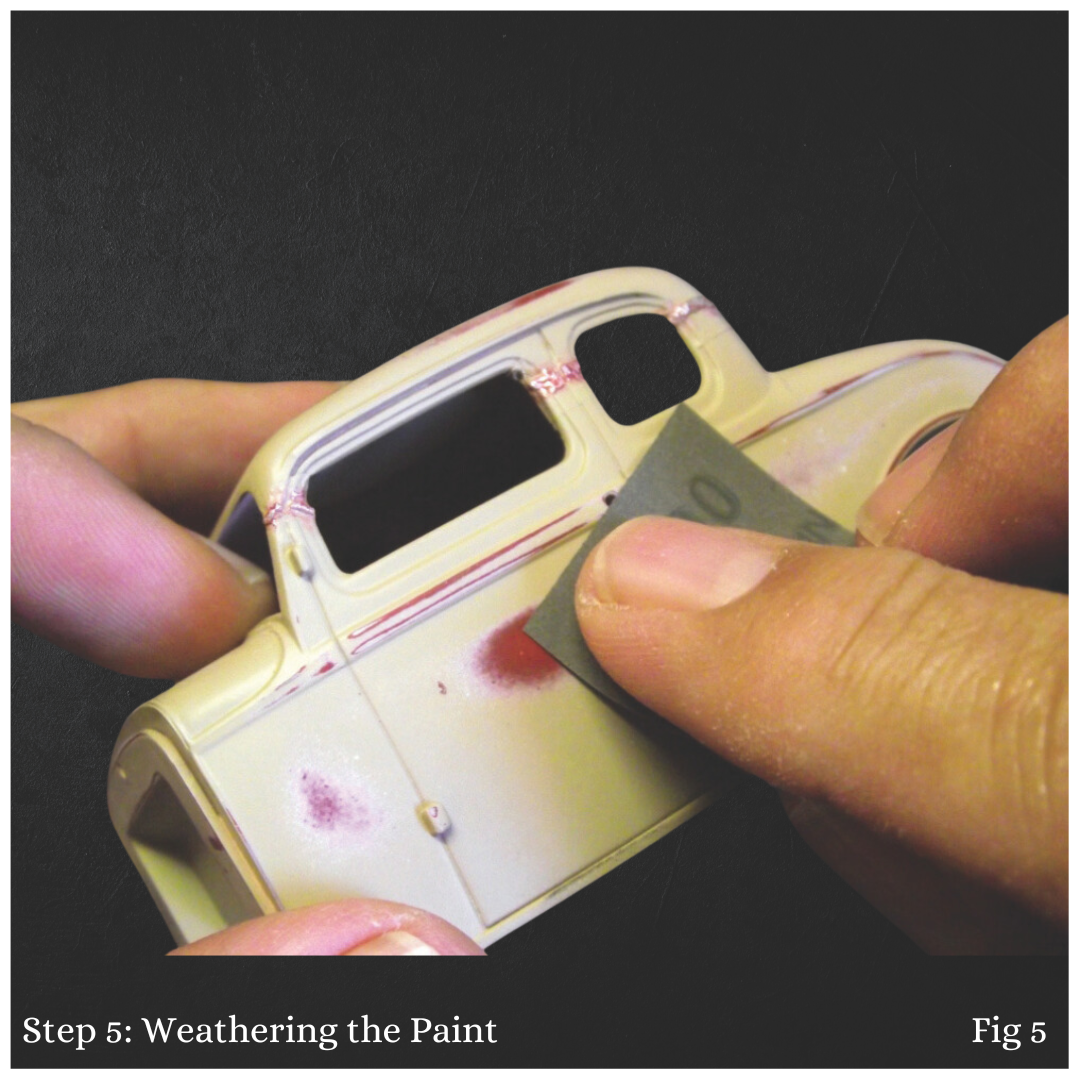
Fig 5: One of my favourite parts—wearing down the paint! I used 2000 wet & dry abrasive paper to scuff the top coat in random areas, exposing the Red Oxide base. This technique simulates an old paint job that has been worn away over time. Once satisfied, I applied a light coat of Tamiya Clear gloss to create a smooth surface for decals.
Step 6: Applying Decals
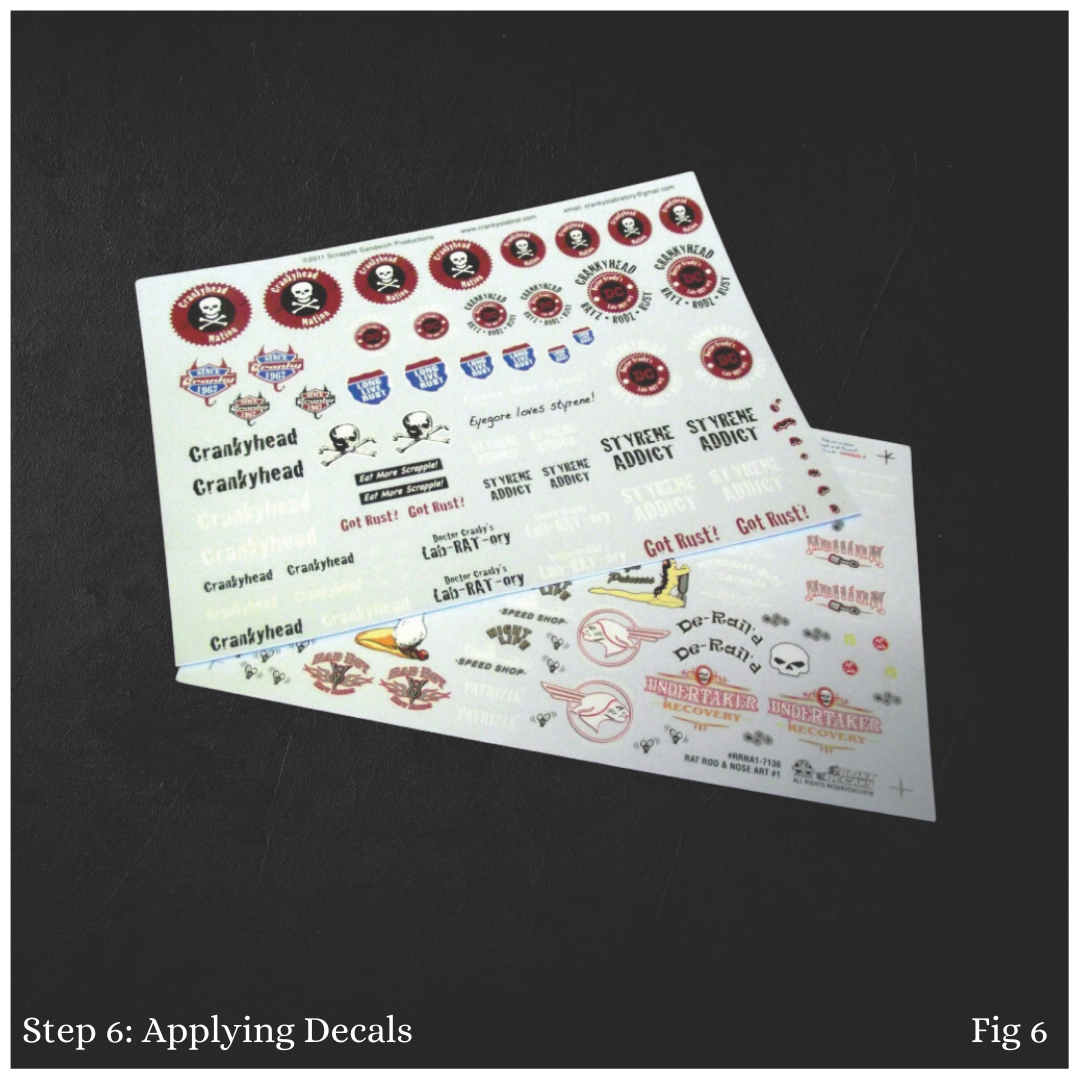
Fig 6: I wanted to add some character, so I ordered decals from Virgil “Dr Cranky” and also considered Slixx Decals. Both offer great options for Rat Rod-themed decals.
Step 7: Finalizing the Look
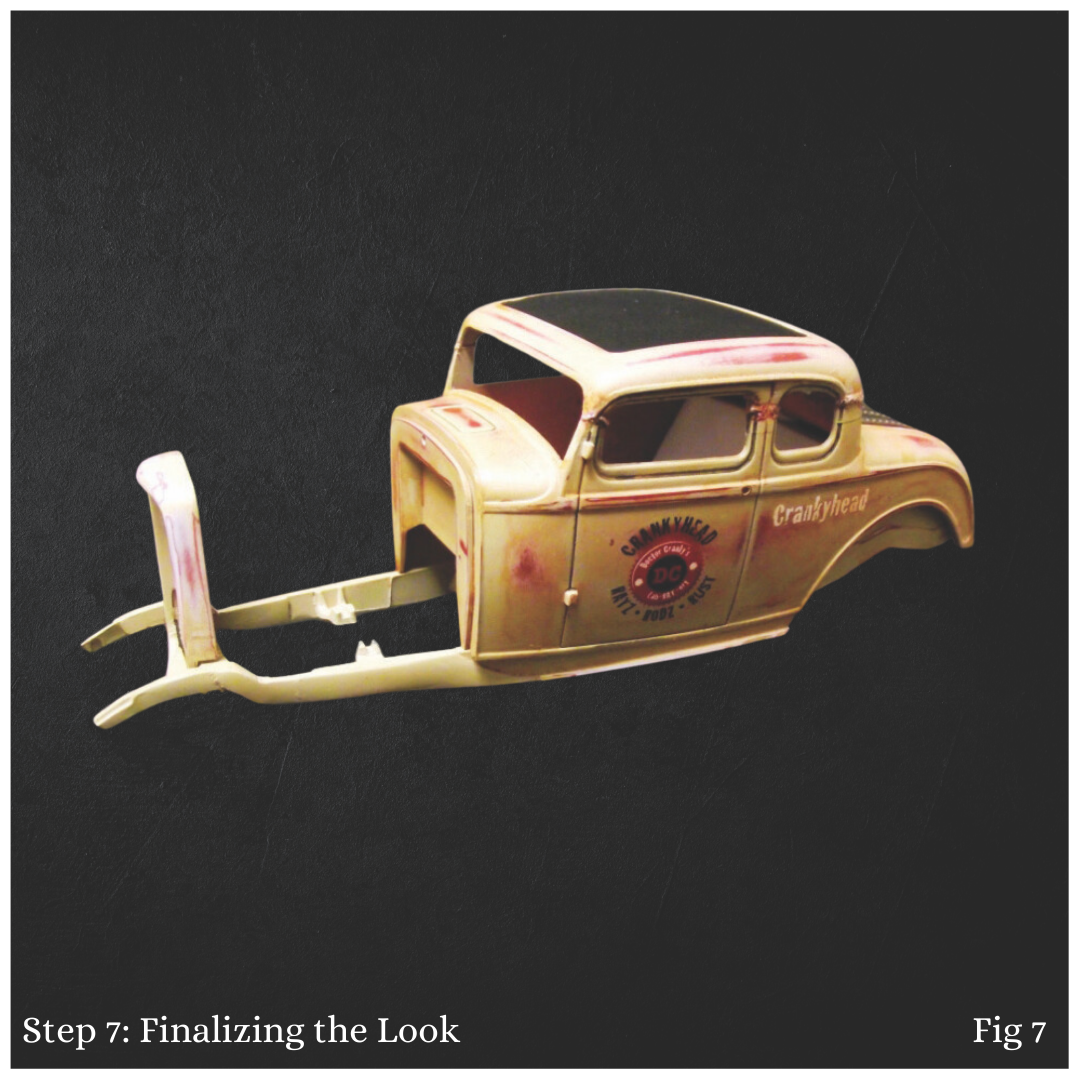
Fig 7: After applying the “Crankyhead” name to the rear quarter panel and logos on the doors, I added a fun “Eat more Scrapple!” sticker to the rear valance. To unify the model, I coated the entire body with Tamiya clear flat spray to knock down the gloss and create a consistent finish across the decals and body.
Step 8: Creating a Rusty Effect
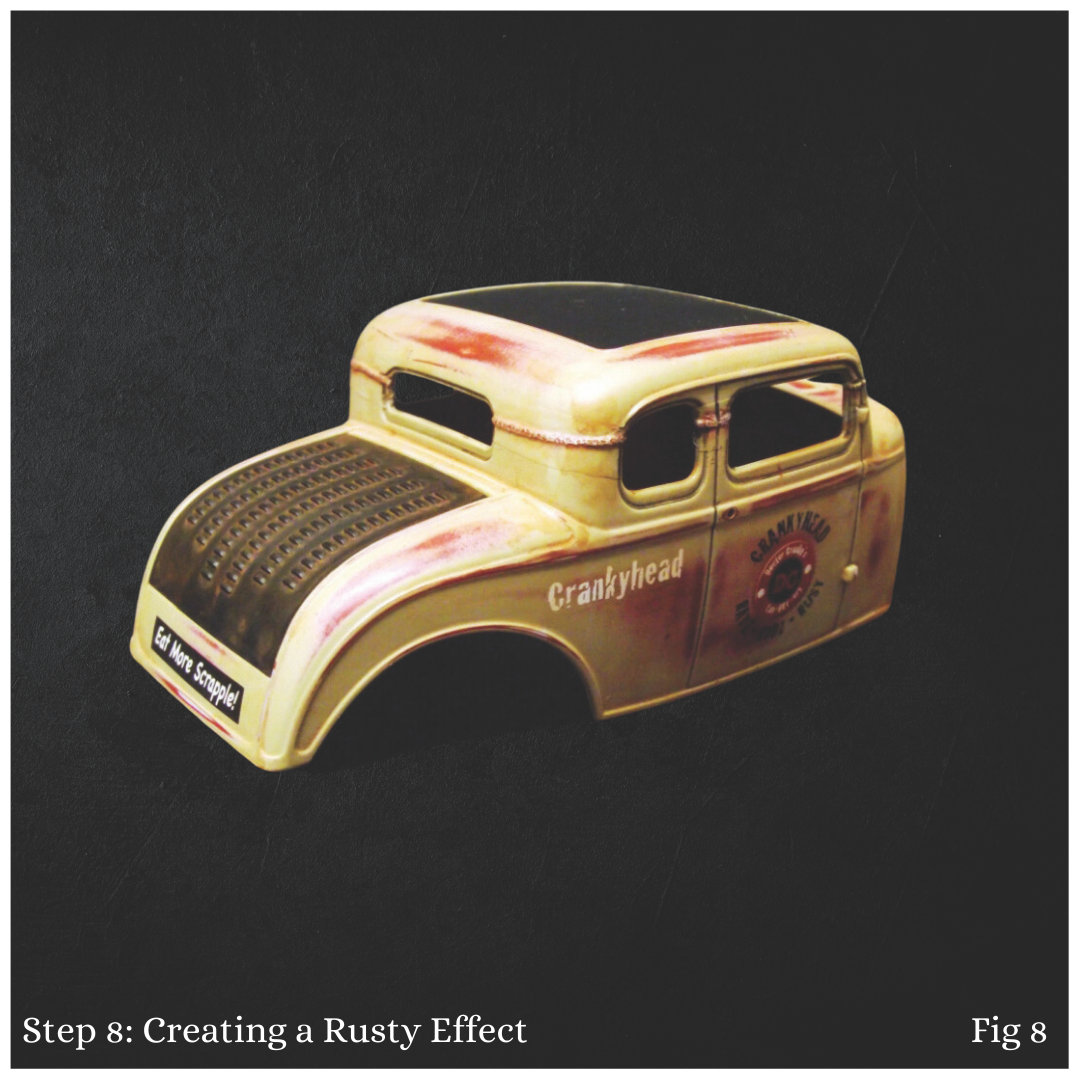
Fig 8: The final touch involves adding a light rusty wash to the entire body to mimic surface rust. I used a product called “Rust and Dust” from Micromark, which includes various washes and real dirt powder. For this model, I applied the Rust wash to accentuate features like the louvres on the rear deck. The result is a beautifully aged effect that enhances the overall look of the Deuce.
What’s Next?
In our next instalment, we’ll focus on painting and assembling the interior of the Deuce. Stay tuned for more tips and techniques as we continue to bring this classic model to life! Happy modelling!
Share Your Progress
We’d love to see how your project is coming along! Send us your build photos, and feel free to ask any questions you have along the way. We’ll feature select builds and answers in future articles.
Selling Price:
0.00
Sold:
Yes

