Building a High-Performance Rod: Part 1 - Zeeing the Frame of the Revell '32 Ford 5-Window Coupe
The Goal: A Highboy Rod with Attitude
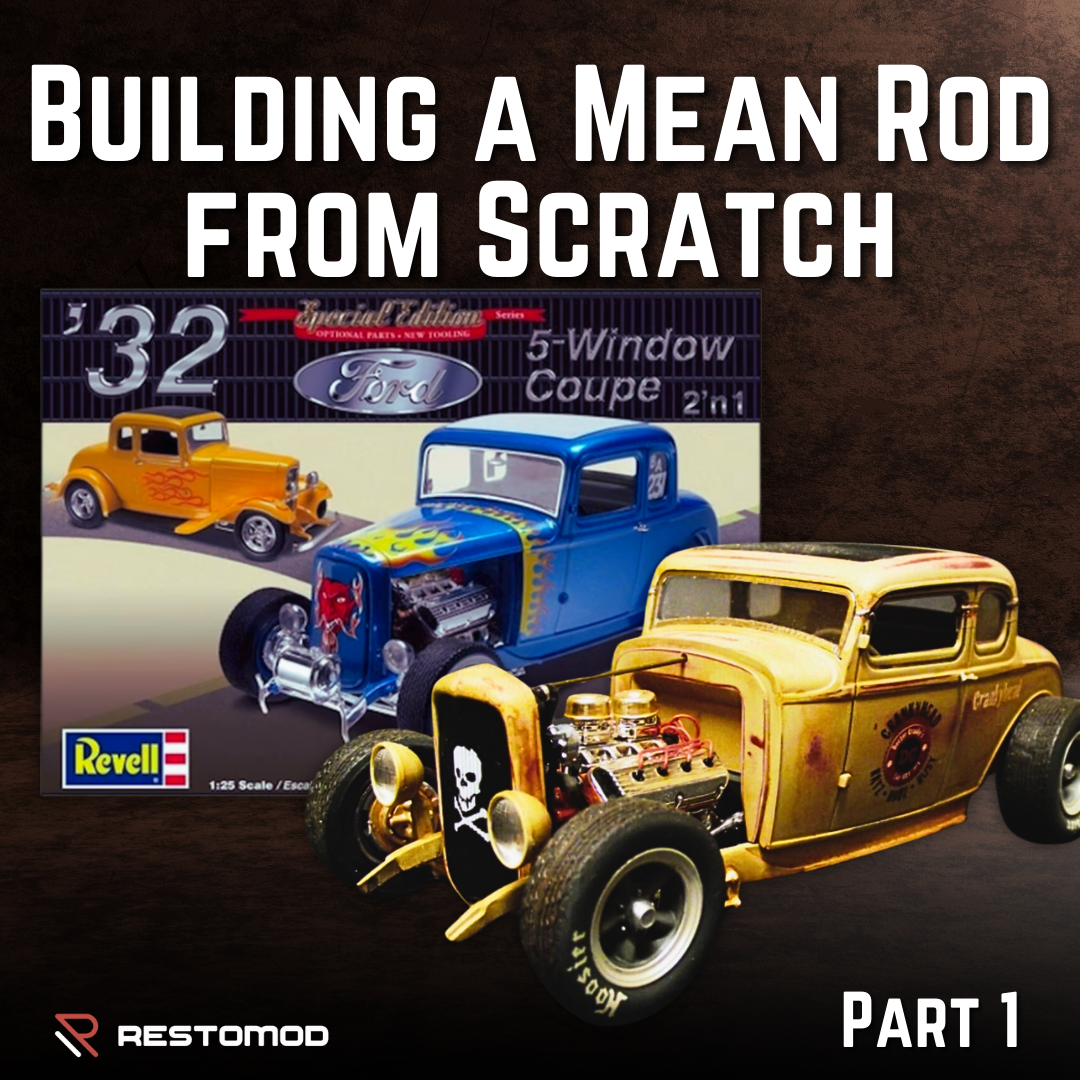
The objective of our project is to create a unique Highboy Rod that blends Rat Rod aesthetics with contemporary and traditional influences. We’ll be working almost exclusively with kit parts, with minimal exceptions for wiring and a few essentials. The end result will be a distinctive, custom-built rod that radiates personality and craftsmanship.
Tools and Materials You'll Need:
- Revell '32 Ford 5-window Coupé kit
- Razor or jeweller's saw
- Steel ruler
- Dividers (for accurate measurements)
- Liquid cement
- Superglue
- Plastic sheet (to fill gaps)
- Plastic card (for reinforcing joints)
- Model filler (for smoothing and finishing joints)
Step-by-Step Guide: Zeeing the Frame
Step 1: Mark and Cut the Frame
Begin by identifying the areas of the frame that will undergo modification (refer to Fig 1 in your kit’s instructions). Use a razor or jeweller's saw to make precise 45-degree cuts in the marked areas. These cuts will allow the rear portion of the frame to be lowered, giving your rod a more aggressive stance.
Step 2: Reassemble the Frame
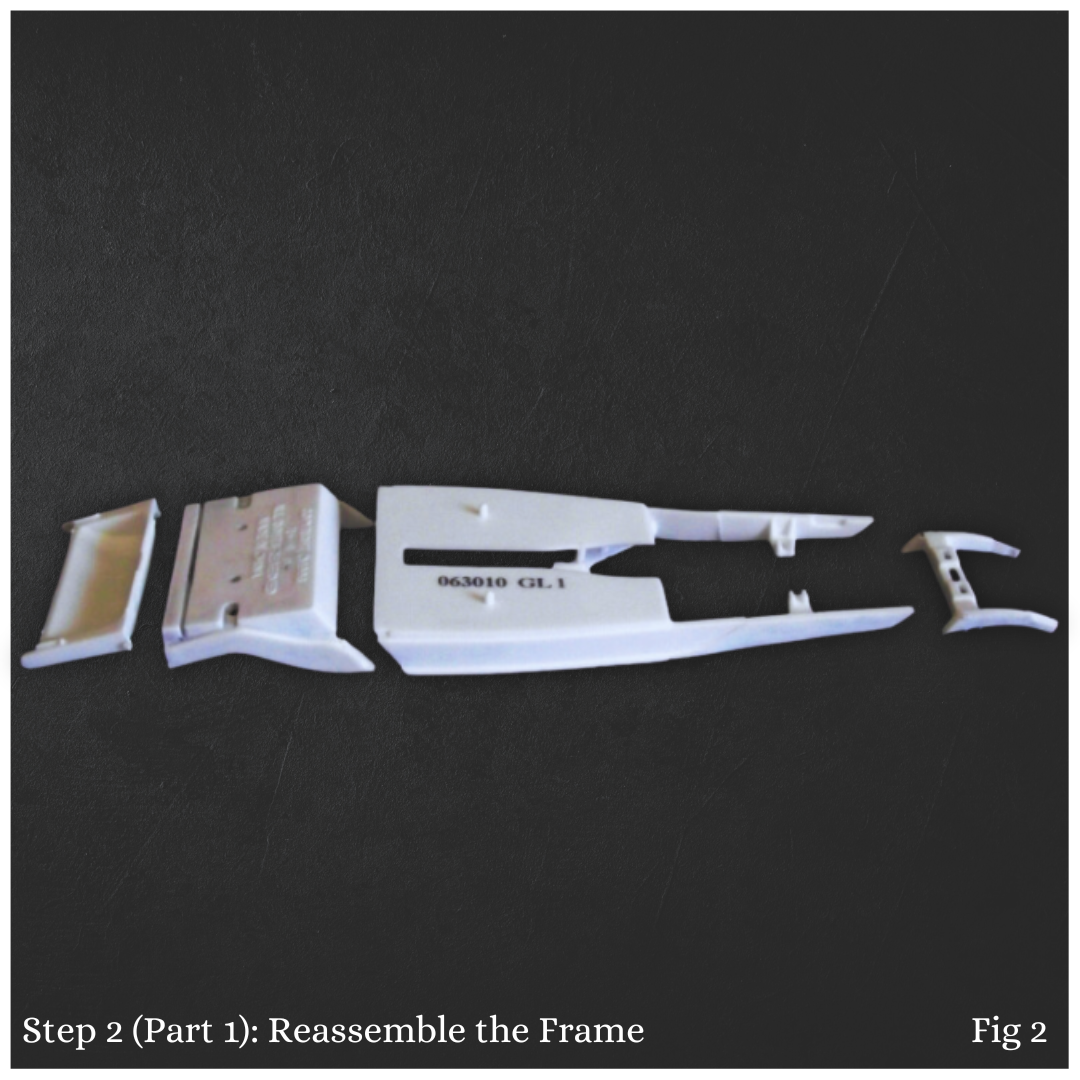
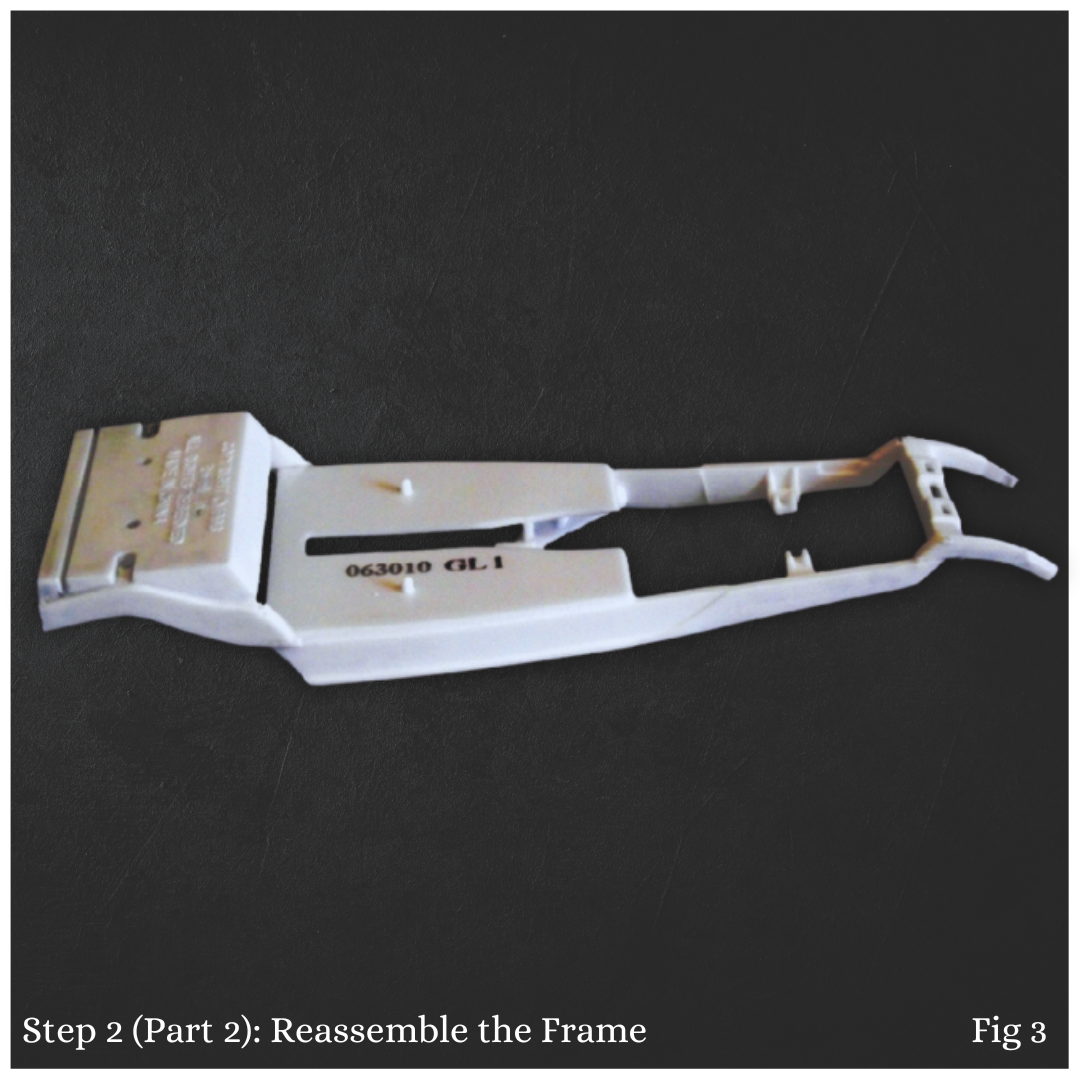
Once the cuts are made, clean the edges of the frame for a smooth fit. Reassemble the frame using liquid cement. This will create a secure bond while allowing you to fill any gaps between the cut sections. Be sure to reinforce the joints with liquid cement to ensure structural stability (Fig 2-3).
Step 3: Fill Gaps and Reinforce Joints
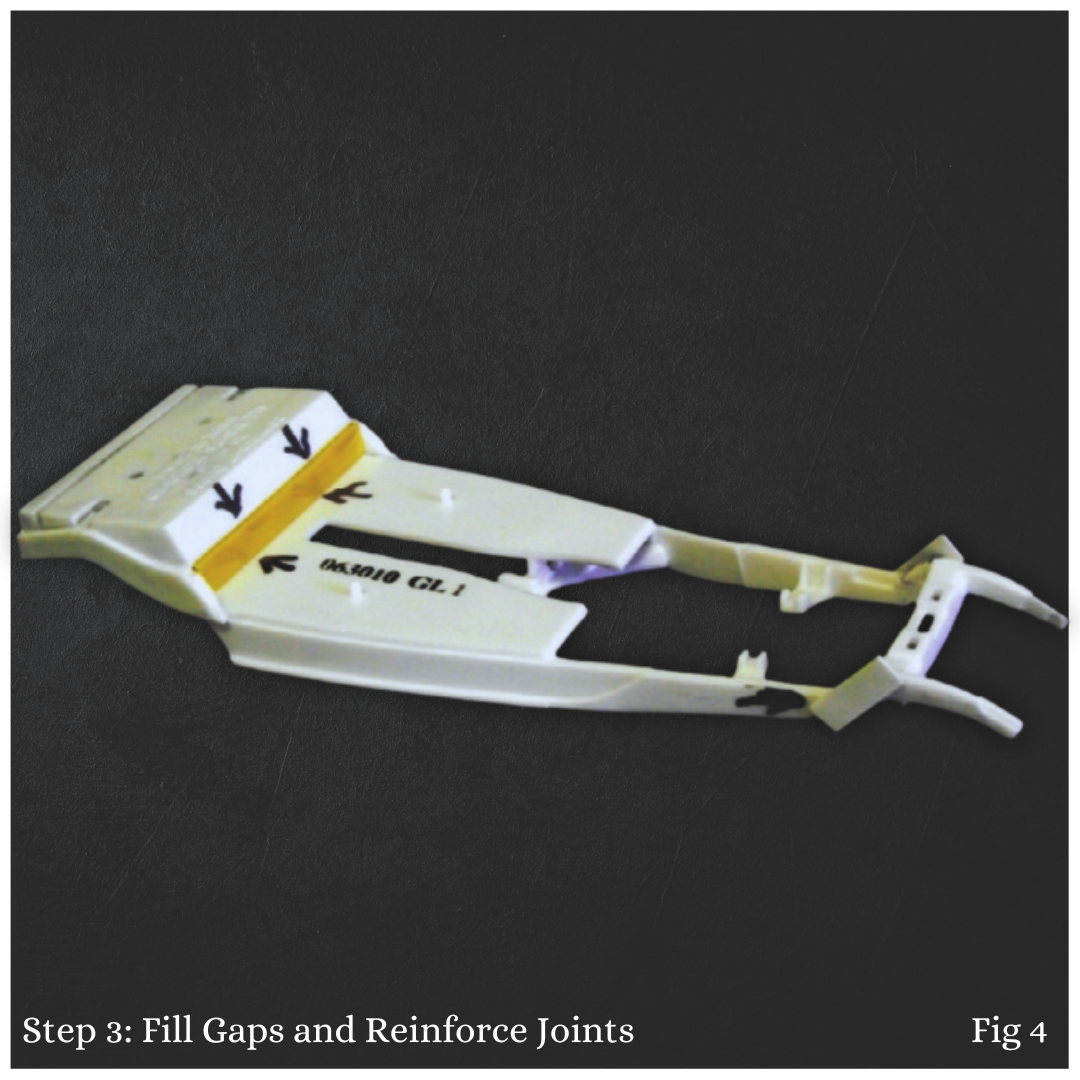
After reassembling the frame, use small pieces of plastic sheet to fill any remaining gaps. Reinforce the joints by applying strips of plastic card across them. This added reinforcement will increase the strength of the frame and help maintain its shape during the build process (Fig 4).
Step 4: Attach Inner Fender Blanks
For this step, attach the inner fender blanks to the rear of the frame rather than the body, as outlined in Fig 5. This will help align the frame and keep the structure solid as you move forward with the build.
Step 5: Modify the Frame Rails
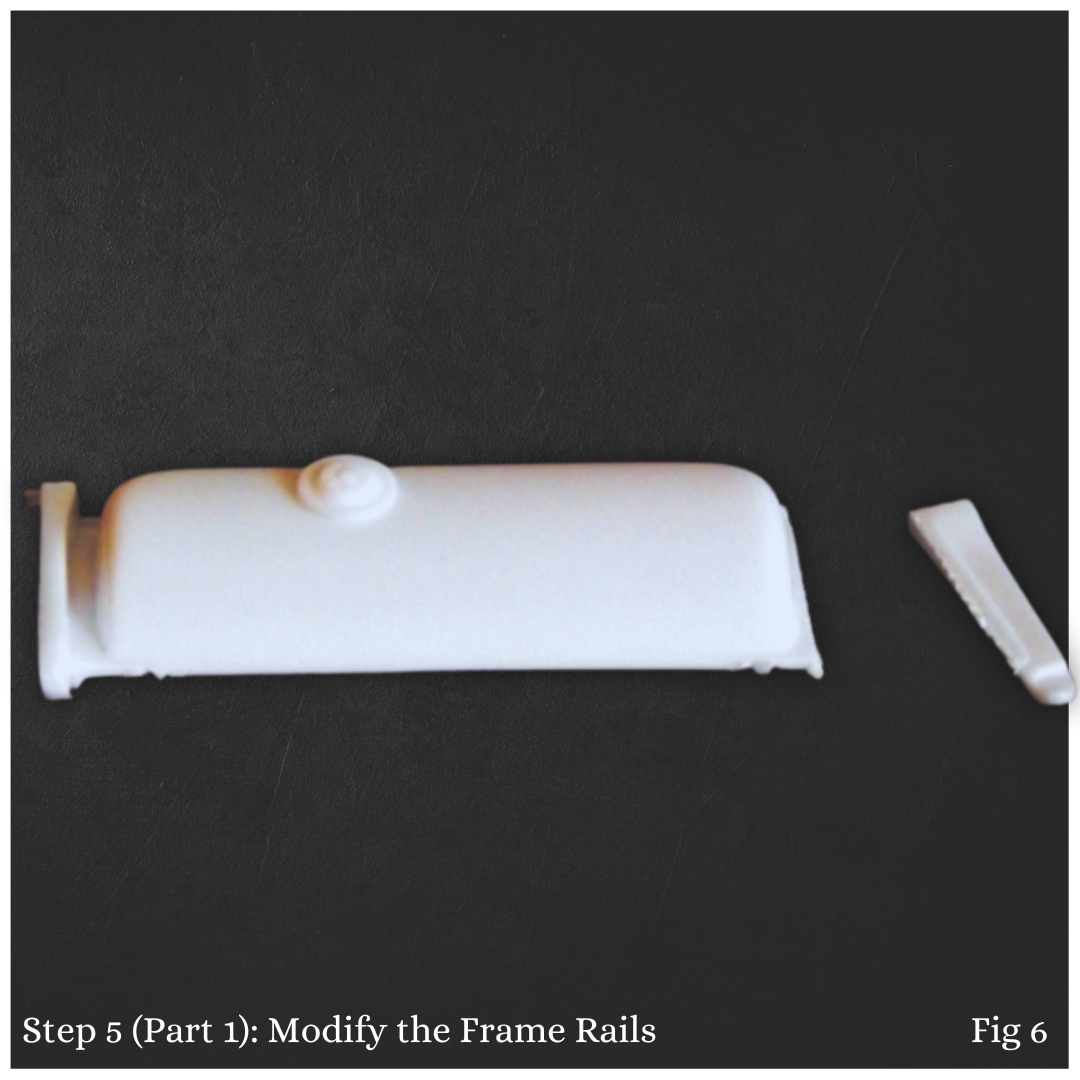
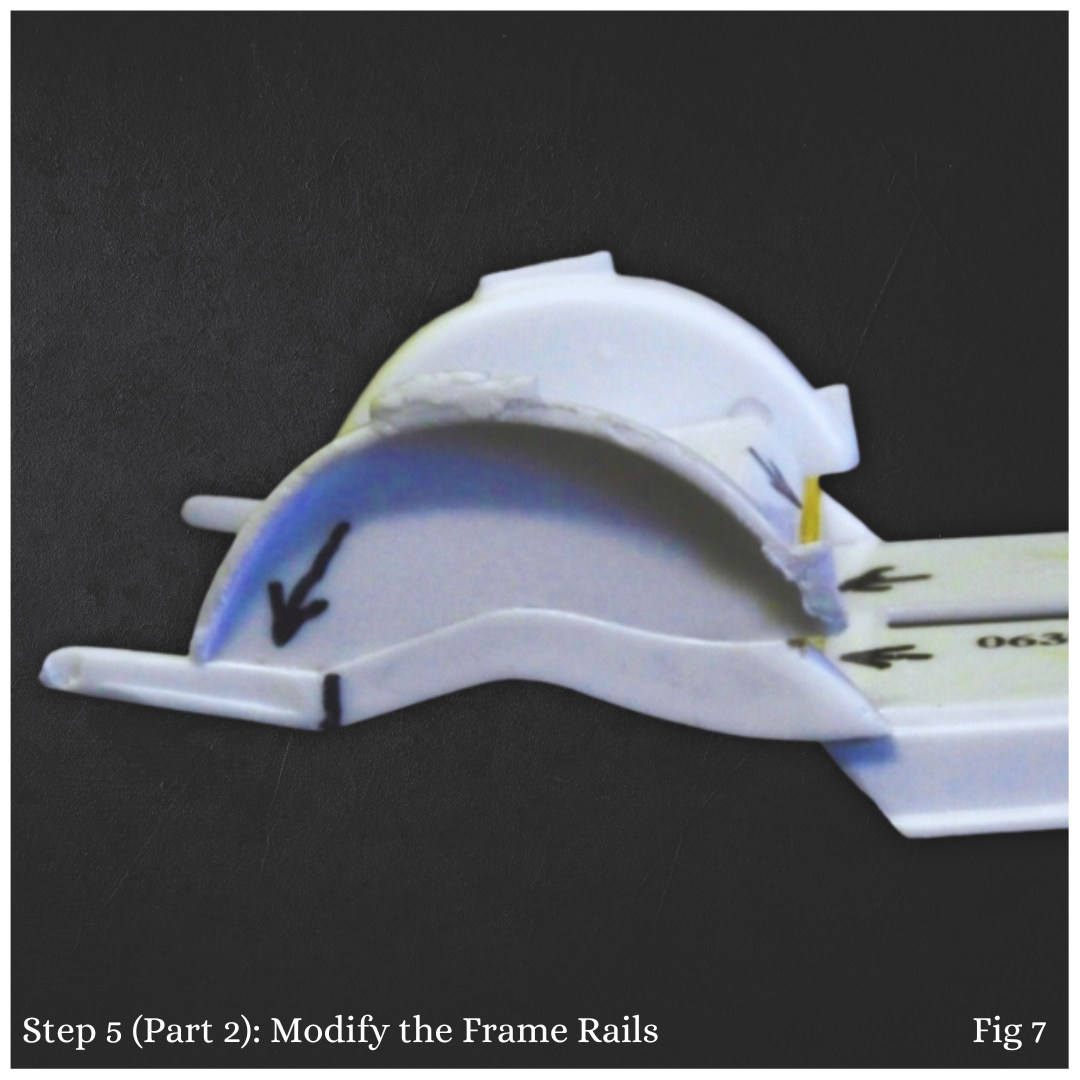
Using the discarded rear piece of the frame, reshape the frame rails and attach them to the rear of the newly Zeed frame. Once they are cut and reshaped, glue them in place, ensuring a seamless fit (Fig 6-7).
Step 6: Final Touches
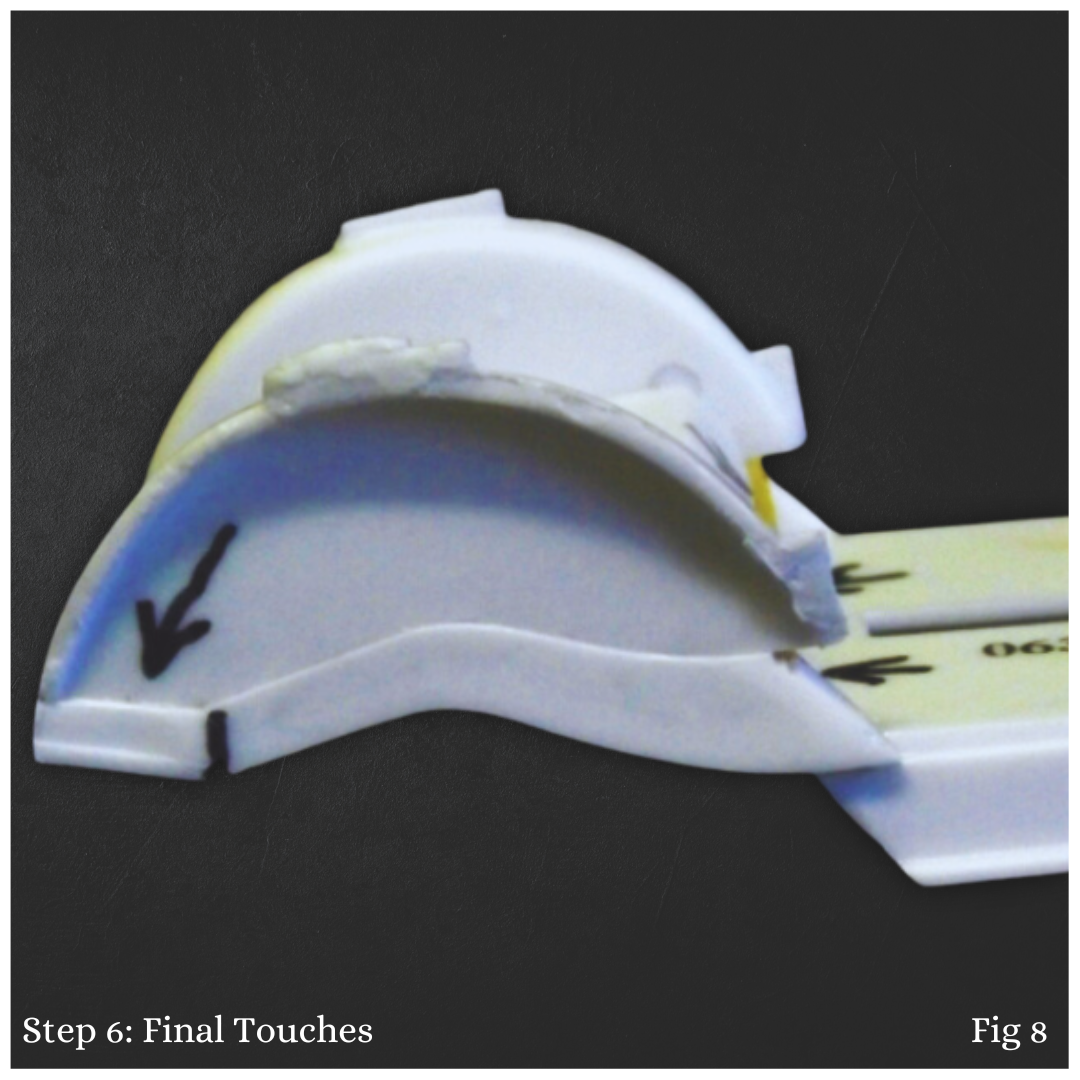
With the frame rails installed, trim them to align perfectly with the inner fender blanks (Fig 8). Once everything is lined up, apply model filler to smooth out the joints and give the frame a clean, cohesive appearance. Let the filler dry completely before moving on to the next steps.
Tips for Success:
- Use a steel ruler and dividers to ensure accurate cuts and measurements.
- Handle small parts with care to avoid any accidental damage.
- Allow adequate drying time for glued joints to avoid weakening the frame structure.
Next Week: Lowering the Suspension and Grill Shell
Now that the frame has been modified, we’re ready to tackle the next phase of our build. In Part 2, we’ll show you how to lower the suspension and modify the grill shell to align perfectly with your new Zeed frame. These steps will take your Rod to the next level of customization and performance.
Share Your Progress
We’d love to see how your project is coming along! Send us your build photos, and feel free to ask any questions you have along the way. We’ll feature select builds and answers in future articles.
Stay tuned for more tips, tricks, and insights as we continue our journey toward building a one-of-a-kind Hot Rod masterpiece!


